
Updated on 2025-11-25
Accurately estimating welding costs is critical for profitable manufacturing and construction bids. By breaking the process into unit costs, you can derive a precise cost per inch.
To calculate welding cost per inch, add up labor, materials, equipment, and overhead. Then divide by the total weld length. Measure arc-on time for labor, weight of filler metal and gas for materials, and amortized machine costs for equipment. Always apply recovery factors to account for efficiency losses.
Key Takeaways
- Four pillars: Break costs into labor, materials, equipment, and overhead.
- Unit precision: Calculate every expense per inch of weld so you can scale bids easily.
- Volume to weight: Convert weld volume (area × length) to weight to estimate filler metal needs.
- Recovery factors: Always adjust theoretical material needs for real efficiency (typically 60–70% for manual processes).
Understanding the Components of Welding Cost

When you calculate welding cost, break it into four measurable parts—labor, materials, equipment, and overhead. This lets you track and assign each one clearly. Start by listing hourly rates, material prices, equipment depreciation or rental, and fixed facility charges.
You figure labor by multiplying the welder’s hourly wage (plus benefits) by the actual hours on the job. Always add a multiplier for rework or idle time so the number stays realistic.
For materials, add the cost of base metal, filler, shielding gas, and consumables per joint length. Equipment costs come from purchase or rental prices spread over expected hours, plus maintenance and power. Overhead covers utilities, rent, administration, and safety gear divided fairly across jobs. Record each as a unit cost so you can calculate everything per inch.
Defining the Scope and Measuring Total Weld Length
After you have unit costs for labor, materials, equipment, and overhead, define the job scope and measure the total weld length. That way every dollar gets assigned accurately.
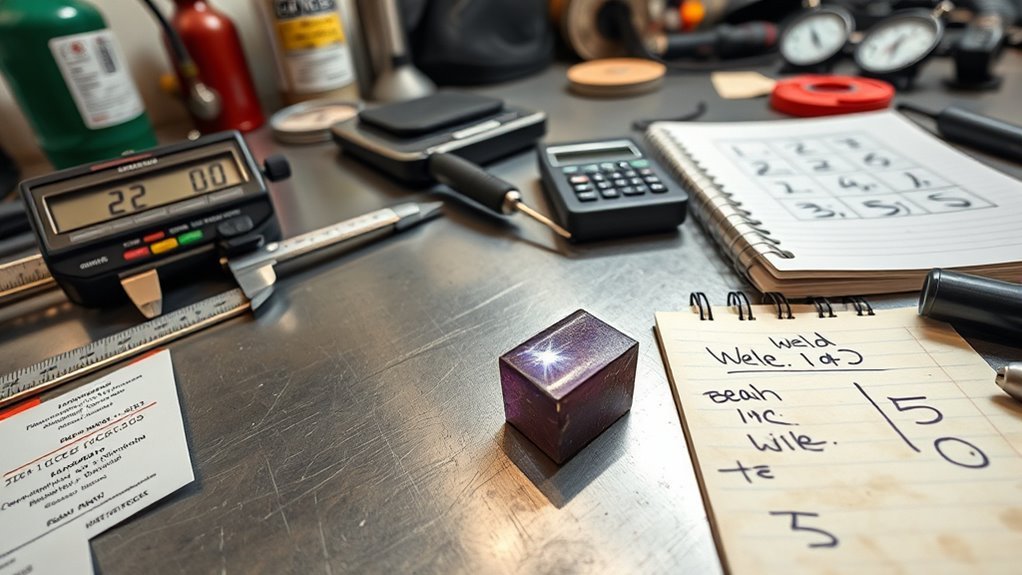
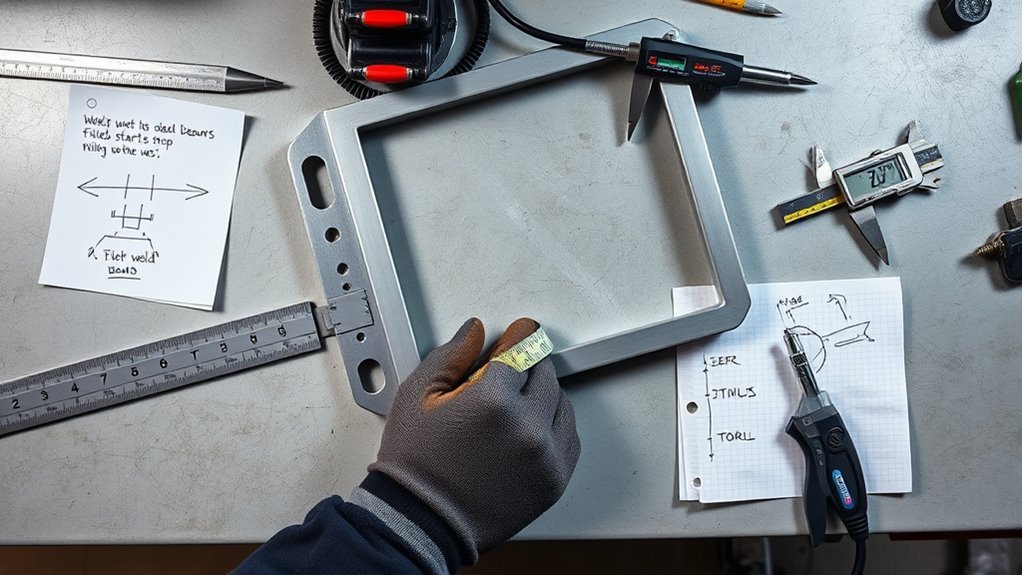
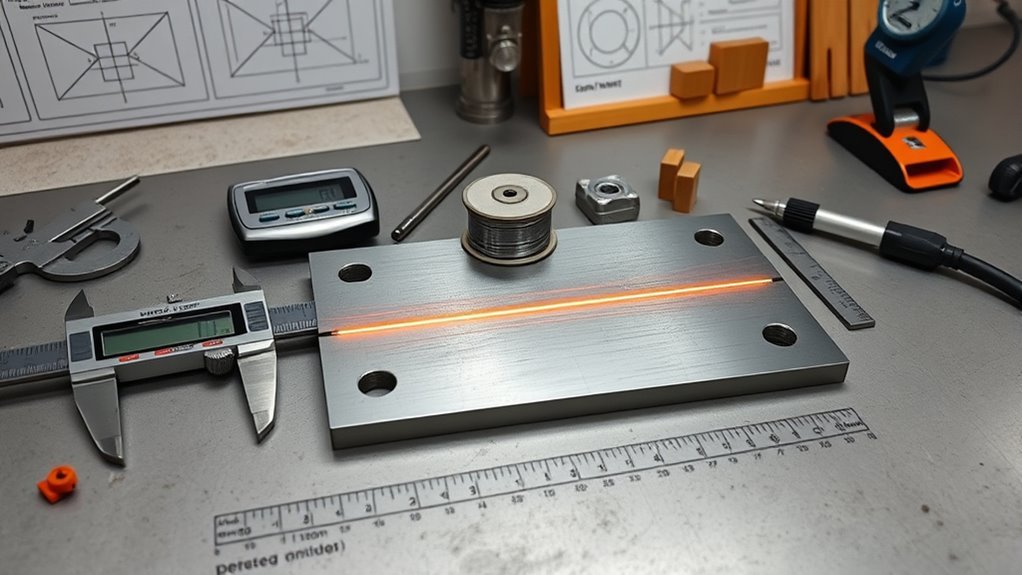
List every component and note the weld type and geometry—butt, fillet, beveled, or other. Mark start and stop points plus any gaps or prep work that affects length. Use calipers for small spots and tapes or laser tools for longer runs. Log everything in inches or millimeters.
Add up all joint lengths for the verified total weld length. Keep a simple table with joint type, measured length, units, and tolerances. This table feeds straight into your per-inch calculations.
Selecting the Appropriate Welding Process
Material type, joint geometry, and service conditions decide which process works best. Start by listing the base metal, thickness, joint type, required weld strength, and appearance needs. Match those to candidate processes.
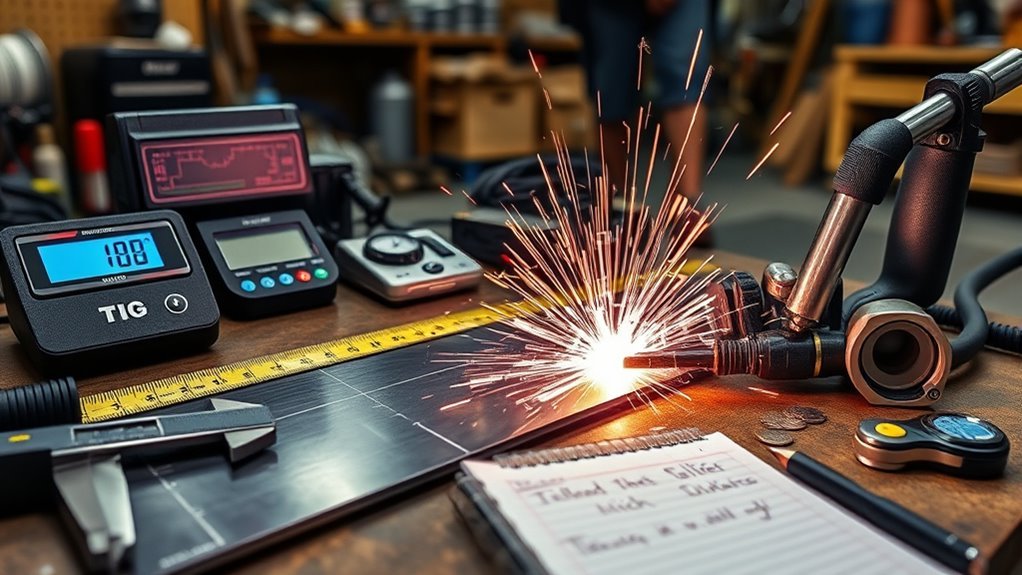
For example, use GTAW (TIG) for thin aluminum or stainless that needs a clean look. Choose FCAW or SMAW for thick steel outdoors. Count parts by metal type, measure thickness ranges, and group joints. Rank techniques by compatibility and deposition rate.
Record expected productivity (inches per minute or hour) and consumable costs per pound. Refer to standards from the American Welding Society (AWS), including their Economics of Welding course, to ensure your process selection meets code requirements.
Use these numbers to pick the process that keeps total cost lowest while still hitting strength and appearance goals.
Products Worth Considering
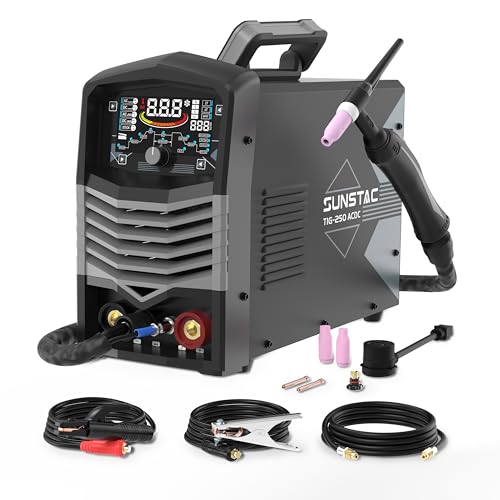
【Born for Aluminum Welding】AC TIG mode is perfect for dealing with Aluminum and Aluminium alloy.
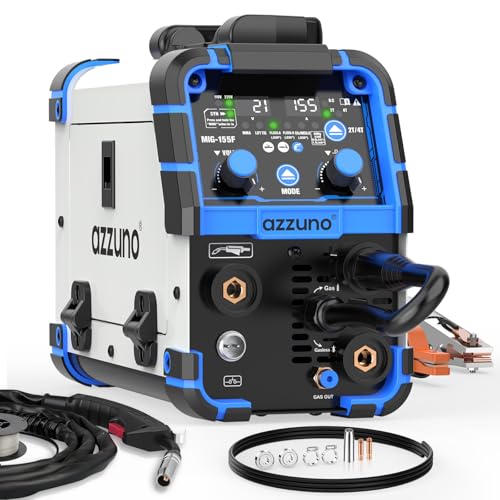
【5-IN-1 155A WELDING MACHINE】– The AZZUNO 110V/220V dual-voltage MIG welder delivers powerful versatility with five welding modes: Flux Core MIG, Gas MIG, Aluminum MIG, Stick, and Lift TIG (TIG torch not included). Designed with just 2 buttons and 2 knobs, it allows for effortless operation and quick setup—perfect for beginners and professionals alike.
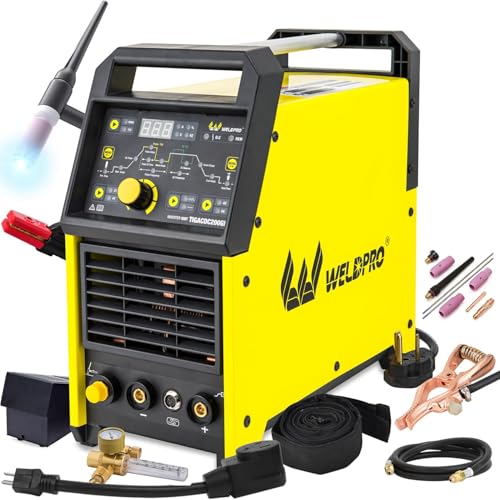
INDUSTRY-PREFERRED 200A AC/DC TIG WELDER: This professional-grade ac/dc tig welder comes with the industry-famous CK17 tig torch, trusted by seasoned welders for its ultra-flexible superflex cable, ergonomic grip, and widely available replacement parts. The 200A high-frequency output delivers stable arc ignition, making it the top choice for precision welding on aluminum, stainless steel, and non-ferrous metals, whether for home DIY or professional fabrication
Calculating Weld Metal Volume and Weight
Accurate weld-metal calculations start with the simple formula V = A × L. First find the weld cross-sectional area (A) for your joint type. Multiply by the weld length (L) to get volume in cubic inches or cubic centimeters.
Example Calculation:
If Area (A) = 2.47 in² and Length (L) = 14 in:
V = 2.47 × 14 = 34.6 in³
For weight, multiply volume by material density: Weight = V × Density. Using a steel density of roughly 0.283 lb/in³ (source: MatWeb), the calculation is:
Weight = 34.6 × 0.283 ≈ 9.62 lb
Keep units consistent, round the same way each time, and note the density source. These steps give you the exact material needs that drive your per-inch costs.
Estimating Filler Metal and Shielding Gas Consumption
Start with the weld volume you already calculated. Convert that theoretical volume to the actual consumables you will buy.
Multiply volume by filler density to get weight. Then divide by the rod or wire unit weight to find how many pieces you need. Adjust for filler-metal efficiency—often 60–70 % for manual processes.
Tip: Convert weld volume to weight using filler density (e.g., 0.284 lb/in³), then divide by rod or wire unit weight.
Required purchase = Calculated need / Efficiency.
For shielding gas, pick the process and joint, set the flow rate in CFM, and calculate total cubic feet with: Total = CFM × welding time (minutes) / 60. Or use per-inch empirical consumption rates. Tools like the ESAB Quick Weld Productivity Analyzer can help. Multiply the purchased amounts by unit costs to get your total material expense.
Products Worth Considering

ER4043 TIG WELDING ROD: ER4043 is a 5% silicon -containing aluminum and silicon alloy welding rod. It has high silicon content, good liquidity, and strong heat resistance

Comprehensive Welding Package: our package comes with 24 low temperature universal welding rods available to meet your welding requirements; Whether you are a novice or an experienced welder, this kit of welding rods ensures you have things you need for your welding projects; Material is relatively brittle, received with breakage is a normal phenomenon, does not affect the use
Determining Labor Time and Labor Costs
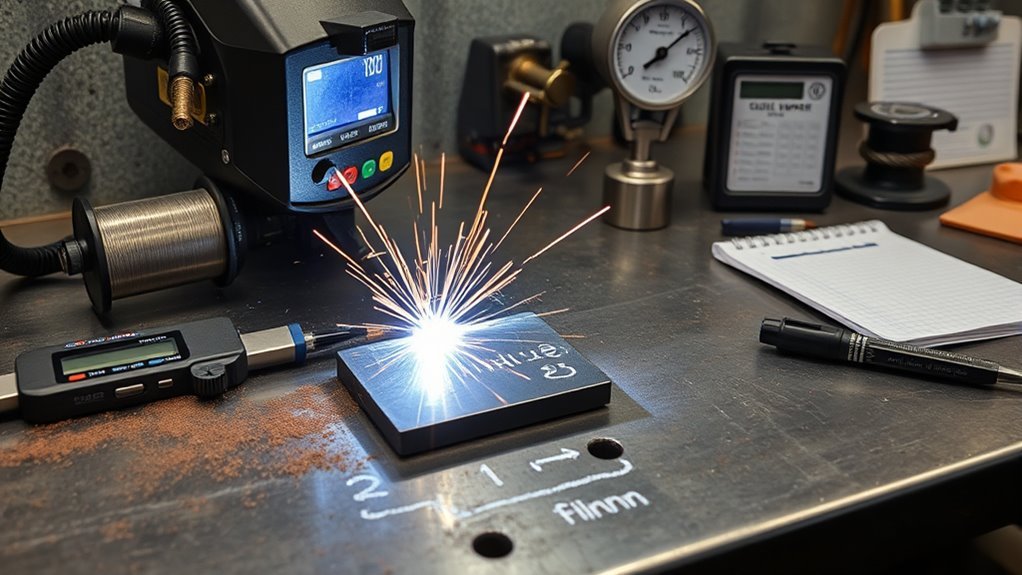
Now turn the consumables into the labor hours needed. Divide total joint length by welder travel speed (inches per minute) to get arc-on minutes, then convert to hours.
Use arc time in the operating factor formula (OF = arc time / total shift time) to show real labor efficiency. Typical arc-on time is only 20–40 % of a full shift. Adjust arc time by the OF to find productive labor hours.
Multiply those hours by a realistic rate (wage plus benefits and burdens—usually $55–$60/hr) for total labor cost. Finally divide by total welded inches to get labor cost per inch.
Products Worth Considering
FAST TWO-COLOR PRINTING – Prints at 2.0 lines per second with dual-color output (black/red) for easy distinction between positive and negative values.
EXTRA-LARGE 10-DIGIT DISPLAY – Clear, oversized screen allows for easy viewing of multi-digit numbers, reducing input and reading errors.

LARGE 12-DIGIT DISPLAY – Extra-large screen clearly displays up to 12 characters for easy, error-free viewing during fast-paced calculations.
Adding Equipment, Power, and Overhead Expenses
List every welder and tool, assign annual depreciation or rental plus maintenance, then divide by expected annual weld inches for equipment cost per inch.
Calculate power from total kWh used during welding cycles and multiply by your local rate for kWh cost per inch. Add these to labor and material costs for the full picture.
Products Worth Considering

THE ONLY DIRT-MATH CALCULATOR designed specifically for excavation and heavy construction professionals; it helps you identify truck load volumes; includes percent grade and slope keys giving you instant right angle solutions for diagonals and square-ups; plus it helps you stake out drops, ramps and trenches for dependable estimates and bids

Hinged, hard cover protects keys and display when stored
Equipment Depreciation Costs
Equipment sets the baseline for every estimate. Take purchase price minus residual value, divide by useful life in years or hours. Turn that into a per-inch charge by dividing by annual productive hours or total expected weld inches. Allocate overhead after you have the per-inch depreciation.
| Item | Annual Cost | Per-Inch Charge |
|---|---|---|
| Purchase depreciation | $2,400 | $0.12 |
| Maintenance & repairs | $600 | $0.03 |
| Allocated overhead share | $1,200 | $0.06 |
| Total | $4,200 | $0.21 |
Power and Utilities
Figure kWh consumption from welding voltage and amperage. Adjust for machine efficiency and duty cycle, then multiply by your electricity rate.
Add equipment-related charges by spreading machine depreciation. Include direct utilities (electricity, gas) at current prices. Finally divide facility rent, admin costs, and insurance across billable inches. Total per-inch cost equals energy plus depreciation plus utilities plus allocated overhead.
Computing Cost Per Inch and Applying Recovery Factors
Sum total labor, materials, consumables, overhead, and power costs. Divide by the total weld length in inches to get your precise cost-per-inch.
Always adjust consumable quantities with the recovery factor for the chosen process. That keeps your filler-metal weight realistic instead of theoretical.
Products Worth Considering

PATENT PENDING - The Perfect Welder’s Tool: Looking for a way of keeping your fingers protected without having to compromise on your welding quality? Would you like to maximize your welding performance and increase accuracy? The Clarke Brothers wire welder is the ultimate tool!

Set includes:3pcs Back cup, 20 collets, 8pcs collet body, 25pcs Alumina gas cup/ nozzle, 2 gasket

Tig Welding Rod
Practical Tips, Examples, and Common Pitfalls
Once you have a verified cost-per-inch, make a few final adjustments.
- Contingency: Add a 5–15% buffer for surprises.
- Benchmarking: Compare with past jobs. If an old average was $0.75/in and your new number is $0.60/in, double-check prep time or travel.
- Scenario Planning: Build best-case and worst-case tables for solid budgeting.
- Recovery Factors: Never skip them—they cause the most material shortages in estimates.
Frequently Asked Questions
How do taxes affect welding cost per inch?
Taxes raise the per-inch cost by adding a percentage to labor and materials. Apply your specific tax rates to each category before you add up the final unit price.
Can subcontractor rates be used in the calculation?
Yes. Turn subcontractor quotes into hourly equivalents, add material and overhead markups, then calculate a weighted average cost per inch based on their production rates.
How to account for inspection and testing costs?
List technician hours, equipment depreciation, and consumables for NDT or other methods. Divide the total inspection cost by total welded inches to get the per-inch inspection charge.
Should scrap and rework be included per weld inch?
Yes. Use historical scrap rates and rework hours, then spread those costs across every inch so your budget covers material loss and efficiency gaps.
How to price travel and mobilization per inch?
Add up all travel and mobilization fees for the whole project. Divide by total estimated weld inches and include a contingency percentage for the final per-inch amount.
Conclusion
You now have a clear, step-by-step way to calculate welding cost per inch. Measure total weld length, choose the right process, figure weld volume, and include every cost plus overhead and recovery factors. Templates and tables from your shop data make the work faster. Use real numbers from your floor and your bids will stay competitive.
