
You’ll quantify every weld, convert weld cross‑section and length to weld metal volume, then to deposited weight using filler density and deposition efficiency. Divide weight by process deposition rate and operating factor to get arc time, then multiply by loaded labour rate for direct labour cost. Add filler, flux, shielding gas, electrode waste, machine depreciation, power (kWh), maintenance and allocated overhead. Sum line items, add margin, and you’ll have a defensible quote — keep going to see worked examples and templates.
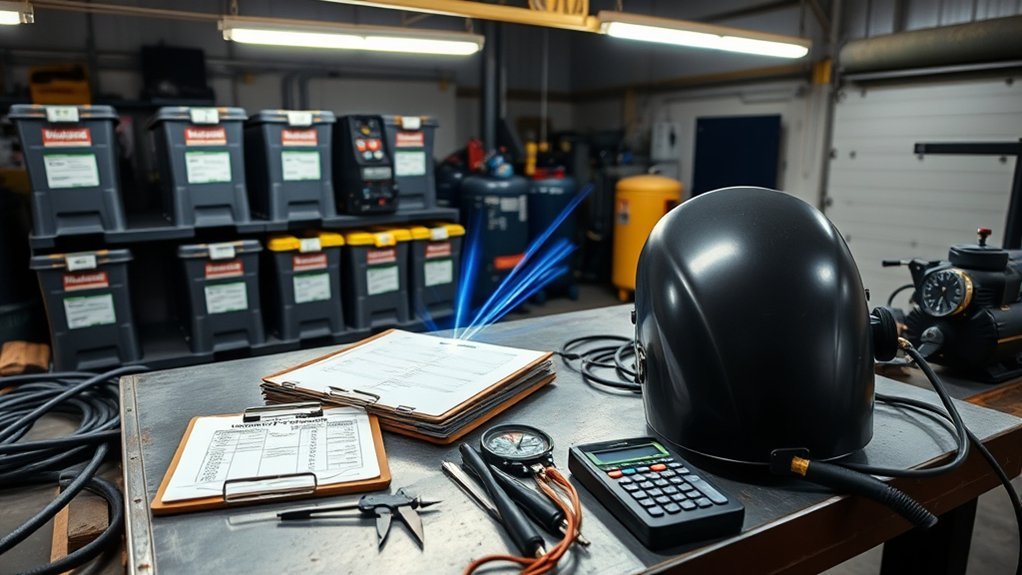
Why Accurate Welding Costing Matters
Because accurate welding costing ties directly to your bottom line, you can’t afford estimates that miss hidden expenses or misprice labor and power. You need precision: the importance of accuracy isn’t academic — it prevents underquoting that erodes margins and avoids overquoting that loses bids.
Quantify labor hours, machine runtime, and ancillary overhead so your bid reflects true resource consumption.
Quantify labor, machine runtime, and ancillary overhead so your bid reflects true resource consumption and protects margin.
You’ll identify hidden costs like power draw, fixture wear, and supervision load factors, then fold them into unit rates. That discipline improves schedule fidelity and resource allocation, reducing rework and downtime.
When your estimates match operational realities, you control cash flow, set realistic contingency, and protect margin — the direct impact on profitability is measurable.
Use documented assumptions and versioned estimates so each proposal ties back to actual job performance, enabling continuous improvement and sharper competitive pricing without sacrificing delivery or quality.
Breakdown of Welding Cost Components
Now that you’re tying estimates to real operations, break the total into its component costs so you can price and control each driver. You’ll itemize labor, materials, equipment, overhead and consumables to compute welding cost with precision.
Count labor beyond wage: include benefits, payroll taxes and shop overhead — often totaling up to $60/hour — and allocate by weld time. Track material costs: base metal, filler metal, shielding gas and consumables; improve material efficiency by minimizing scrap and optimizing joint preparation.
Account equipment costs from depreciation, rental, maintenance and power consumption; apportion per-job hours or amps to reflect true machine cost. Include overhead: utilities, facility rent, administration and safety gear, spread across billable hours.
Use the total welding cost formula — Total Cost = Labor + Consumables + Power + Base Material — as a verification step, then reconcile component estimates to actuals regularly so you can identify variances and target cost-reduction measures.
Defining the Scope and Weld Geometry
When you define the scope and weld geometry, identify every weld type, joint configuration and volume up front so you can quantify labor, filler metal and machine hours precisely; record joint type (butt, corner, edge), preparation (single‑V, double‑V, J), weld length, plate thickness and included angles, since those dimensions determine weld metal volume, deposition rate and required travel speed.
You’ll list all weld types and joint configurations, measuring lengths and thicknesses to calculate weld metal volume and consumable weight. Note included angles and root openings because they change bead profile, pass count and interpass heating needs.
Collaborate with designers to simplify preparations or reorient joints, lowering bevel time and reducing filler consumption. Convert geometry data into input values: linear length × cross‑sectional area = weld volume; weld volume × density = filler mass; filler mass ÷ deposition rate = additional arc hours.
Use these calibrated metrics to build accurate labor, consumable and machine‑hour cost estimates before process selection.
Choosing the Appropriate Welding Process
With weld geometry and volumes quantified, you can pick the welding process that matches material, performance and budget targets.
You’ll evaluate welding techniques against material compatibility first: use GTAW for thin sections and critical-quality joints, FCAW or SMAW for thicker sections where higher deposition rates matter.
Compare deposition rates and adjust labour-hour estimates—GTAW’s low deposition increases welder time and labour cost, while FCAW reduces time but raises consumable expense.
Match joint design to process: single- or double-V grooves on thick plates often call for higher-deposition methods to control cycle time.
Quantify consumable and equipment cost per metre of weld, include shielding gas, flux, and maintenance.
Factor skill-level premiums: advanced techniques demand certified operators and raise hourly rates.
Finally, run scenario cost comparisons (unit cost per weld metre) for candidate processes, documenting assumptions on deposition, travel speed, and rework probability so you choose the most cost-effective, compliant technique.
Products Worth Considering

Crafted with precision, our steel plates are laser-cut, offering unparalleled edge smoothness and dimensional accuracy compared to stamped and sheared parts.

Father's Day Gift: If your father is an excellent welder, you can give this as a gift to him. He will be very happy.
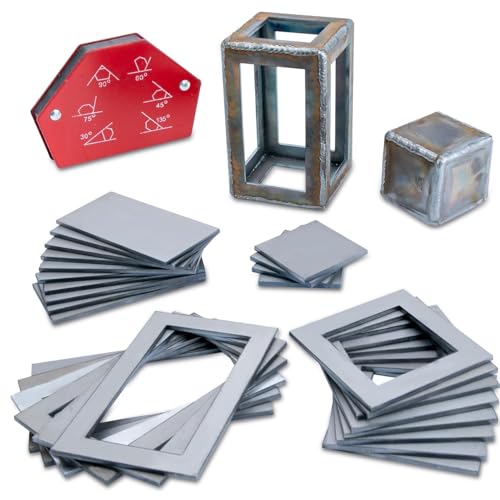
Richly Packed Welding Kit: This kit includes 10 pieces of 3x2-inch plates, 10 pieces of 2x2-inch plates, 10 pieces of 5x3-inch plates, and 10 pieces of 4x2-inch plates. You can weld them into basic 3x3x3-inch and 2x2x2-inch cubes, or create rectangular shapes like a 5x3x3-inch box or a 4x2x2-inch box. Perfect for beginners looking to enhance their welding skills.
Calculating Weld Metal Volume and Weight
You’ll start by calculating the weld’s cross‑sectional area from its geometry (fillet, groove, or rectangular section) to get a precise area in in² or mm².
Multiply that area by the weld length to obtain volume (V = A × L), using consistent units so your result is in in³ or m³.
Convert volume to weight by multiplying by the filler metal density (e.g., 0.283 lb/in³) to estimate material cost and verify filler requirements.
Cross‑Sectional Area Calculation
Start by breaking the weld cross section into simple geometric shapes—rectangles, triangles and parabolic segments—so you can calculate the exact area that the filler metal must occupy, including root spacing and any reinforcement.
Using the weld design, identify each shape, measure dimensions, and compute area precisely (A = sum of individual areas). Record root opening and reinforcement as separate elements to avoid underestimating filler requirements.
Accurate area feeds cost calculations: A determines volume only when multiplied by length, and volume determines weight via material density (≈0.283 lb/in³). From weight, compute required filler mass, deposition time and electrode consumption.
Precise cross-sectional area reduces waste, improves deposition efficiency estimates, and tightens labor and material cost projections for competitive, reliable quoting.
Volume From Weld Length
Having measured the weld cross-sectional area precisely, multiply that area by the weld length to get the weld metal volume: V = A × L.
You perform this weld volume calculation to convert geometry into material requirement—e.g., 2.47 in² × 14 in = 34.58 in³.
Next, note material density for later weight conversion, but keep volume as the primary cost driver for filler consumption and deposition time.
Always include any reinforcement or fillet excess when estimating quantity: estimating over welding (reinforcement, toes, and excess cap) prevents understating consumable needs and labor.
Record volumes per weld segment, sum them, and flag joints with intentional over-welding.
Accurate volumes reduce scrap, purchasing errors, and unexpected cost overruns during production.
Convert Volume to Weight
Volume converts directly into weight, so multiply the weld metal volume by the material density to get the mass you’ll need to buy, store, and deposit. You calculate volume V = A × L (e.g., 2.47 in² × 14 in = 34.58 in³), then apply weld density factors to convert volume into mass. Using 0.283 lb/in³ gives 34.58 × 0.283 ≈ 9.79 lb. That weight drives filler purchase, inventory, and cost-per-weld estimates. Use consistent units (in³ with lb/in³ or m³ with kg/m³) and standard weight conversion techniques to avoid mispricing. Track density variations for different electrodes and procedures; small density shifts change material cost. The table below summarizes inputs and outputs for quick, accurate costing.
| Parameter | Value |
|---|---|
| Area (A) | 2.47 in² |
| Length (L) | 14 in |
| Volume (V) | 34.58 in³ |
| Density | 0.283 lb/in³ |
| Weight | 9.79 lb |
Estimating Filler Metal and Shielding Gas Consumption

Because accurate material quantities drive your cost estimates, you’ll calculate filler metal by finding the weld cross-sectional area × length, convert that volume to weight using the filler density, and then adjust for deposition efficiency so the weight reflects what actually gets deposited.
Next, verify deposition rate to relate required weight to welding time and to cross-check consumption estimates. For shielding gas, base consumption on flow rate and cylinder capacity, then add a loss allowance.
- Calculate weld volume = area × length; convert to kg using filler density.
- Divide required deposited mass by deposition efficiency (e.g., 80–95%) to get purchased mass.
- Use deposition rate (kg/hr) to confirm weld time and reconcile total filler needed.
- Estimate shielding gas: typical flow 12–15 L/min; ~10,000 L cylinder yields ~10–12 hours.
- Apply loss factors for both filler metal (trimming, spatter) and shielding gas (purge, leaks).
Record final purchased quantities and unit costs to compute material line-item costs precisely.
Products Worth Considering

PATENT PENDING - The Perfect Welder’s Tool: Looking for a way of keeping your fingers protected without having to compromise on your welding quality? Would you like to maximize your welding performance and increase accuracy? The Clarke Brothers wire welder is the ultimate tool!

ER4043 TIG WELDING ROD: ER4043 is a 5% silicon -containing aluminum and silicon alloy welding rod. It has high silicon content, good liquidity, and strong heat resistance

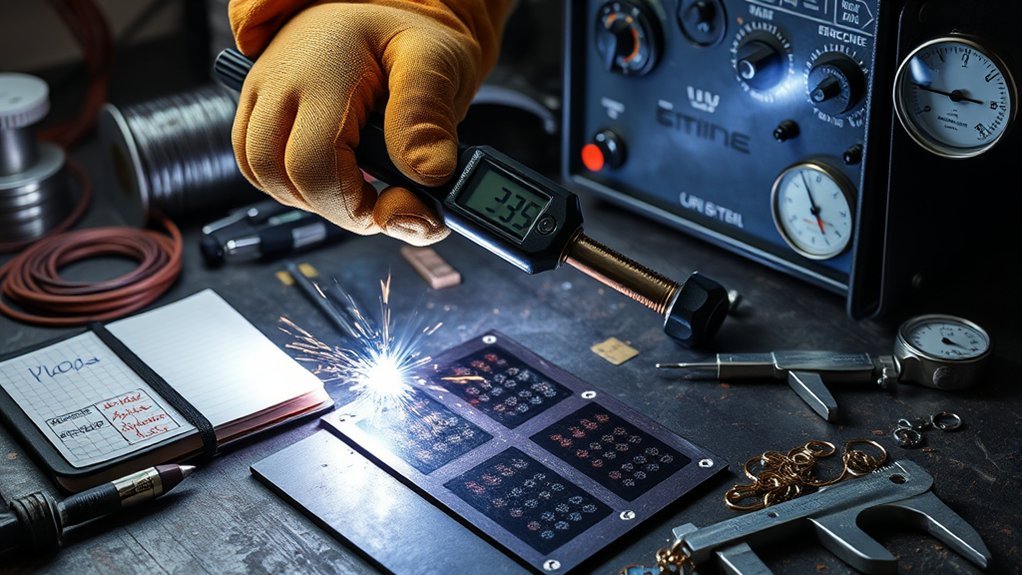
Determining Arc Time and Labour Costs
Now you’ll calculate arc time from weld weight, deposition rate and the operating factor to get a precise measure of arc-on hours (for example, 4.11 hours in our case).
From that arc time and the welder’s paid time (using an OF of arc time/shift time, typically 20–40% arc-on), you’ll compute the labour rate by combining wage, benefits and overhead per hour.
These figures let you convert arc hours into a direct labour cost per weld and spot where productivity or consumable choices can reduce total cost.
Products Worth Considering

More Powerful: Up to 205 amps with Hot Start & Arc Force,adopts IGBT Technology for more efficient and smoother arc quality. Weld continuously without interruption, significantly reducing the risk of welding rod sticking during the welding process. Compatible with most 6010, 6011, 6013 and 7018 welding rods,supports dual voltage (110V/220V). Ideal for welding stainless steel, mild steel, and other metal materials,delivering strong and durable weld joints
![Sefaspe Stick Welder, 2026 Newest [Large LED Display] ARC 200Pro Welding Machine 110V/220V 200A with Synergic Control, IGBT Inverter Portable Welder Machine with Hot Start, Arc force and Anti-Stick](https://m.media-amazon.com/images/I/51mZE085zCL._SL500_.jpg)
【𝐀𝐝𝐣𝐮𝐬𝐭𝐚𝐛𝐥𝐞 𝐇𝐨𝐭 𝐒𝐭𝐚𝐫𝐭 𝐟𝐨𝐫 𝐐𝐮𝐢𝐜𝐤 𝐈𝐠𝐧𝐢𝐭𝐢𝐨𝐧】Hot start time 0-1s and current 1-10% adjustable ,boosts arc initiation duration and current instantly at ignition moment, greatly improving arc success rate - perfect for beginners

BACKLIT LCD DISPLAY – Easy-to-read screen enhances visibility in any lighting, ideal for long work sessions in home or office settings.
Calculating Arc Time
When you need to budget welding labor accurately, calculate arc time from the weld weight, deposition rate, and an operating factor that reflects real-world efficiency.
You’ll use arc efficiency and chosen welding techniques to select a realistic deposition rate, then adjust for interruptions and prep with an operating factor (typically 20–40%).
Compute arc time = weld weight / (deposition rate × operating factor). Accurate arc time drives labor-hours and cost estimates.
- Identify total weld weight (lb or kg)
- Select deposition rate based on process and arc efficiency
- Choose operating factor (20–40%) for real-world productivity
- Apply formula to get effective welding hours
- Convert hours to minutes for scheduling and costing
This method yields precise, cost-focused arc time for labor budgeting.
Computing Labour Rate
Start by adding up the true cost of a welder’s time: don’t stop at the hourly wage — include employer payroll burdens (CPP, EI, WSIB), vacation pay, and health benefits to arrive at a realistic loaded labor rate (typically $55–$60/hr).
Next, determine arc time from weld weight and deposition rate, then apply the operating factor (OF = arc time / shift time, typically 20–40%) to convert arc-on minutes into billable hours.
Divide weld weight by deposition rate to get arc minutes, adjust with OF to obtain total shift hours, and multiply by the loaded labor rate to produce the labor cost for that weld.
Track payroll expenses and OF assumptions explicitly to avoid underestimating labor cost and to support accurate project budgeting.
Adding Equipment, Power, and Overhead Expenses
One clear way to avoid underquoting is to break equipment, power, and overhead into line-item costs and calculate each from measurable inputs: depreciate welders and ancillary gear over their service life or include rental fees, estimate maintenance per hour of operation, compute power by multiplying total kWh used by your local rate, and allocate overhead (utilities, rent, admin, safety gear) pro rata to the project duration; remember to add indirect costs such as supervision and general shop overhead—typically 20–30%—so your total reflects the true cost of delivering the weld work.
Break costs into measurable line items—depreciation, maintenance, power (kWh), and prorated overhead plus 20–30% indirects.
You’ll quantify equipment depreciation and maintenance per operational hour, include rental charges when applicable, and record power consumption in kWh multiplied by your tariff.
Allocate overhead to the job based on run-time and facility utilization. Don’t forget consumables and PPE as recurring overhead.
- Calculate equipment depreciation (purchase minus salvage)/(usable hours)
- Estimate maintenance cost per operational hour
- Measure total kWh used and multiply by local rate
- Allocate rent, utilities, admin proportionally to project hours
- Add indirect supervision/shop overhead (20–30%)
Products Worth Considering

Professional Ggs Flow Tester / Meter Peashooter Style
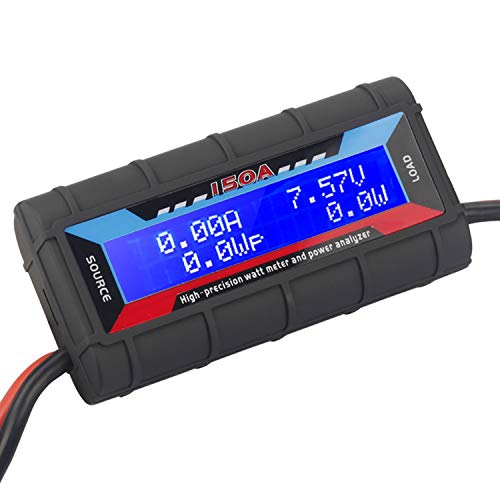
Bright blue backlit LCD display, easy reading. 12 gauge wire take higher volt and current. It is indispensable for analyzing, testing and troubleshooting any DIY DC power project. Very accurate in giving DC volt, ampere and wattage

1. Digital Multimeter:This power energy meter can measure and display voltage current active power energy frequency and power factor at the same time.with split current transformer,more convenient to install .
Using Tools, Spreadsheets, and Estimating Software
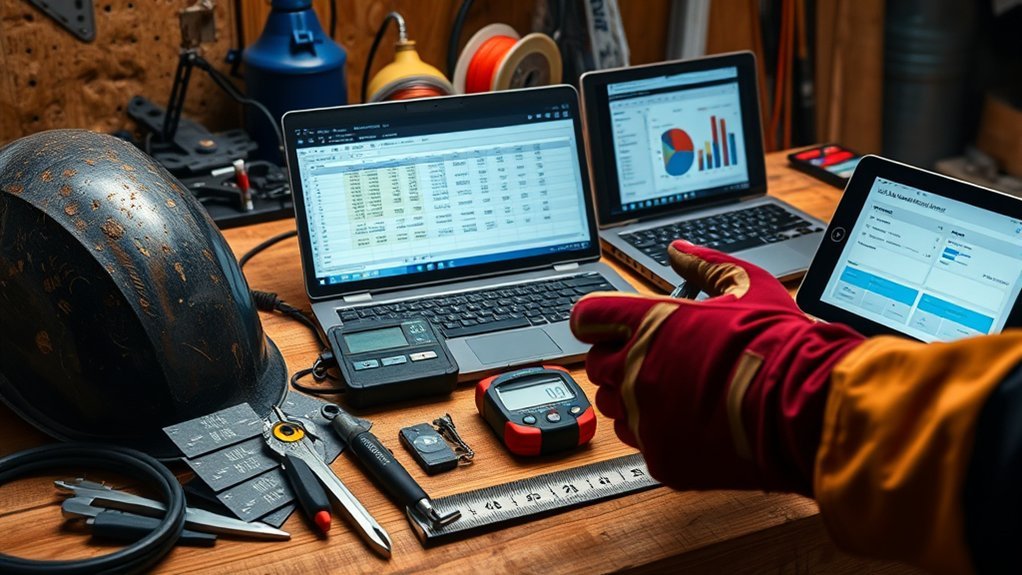
Because accurate costing depends on consistent inputs, you should leverage purpose-built tools—spreadsheets tuned for welding or dedicated estimating software—to convert weld geometry and process parameters into precise line-item costs.
Use welding-specific spreadsheet templates to enter joint dimensions, weld length, groove angles and process type; embedded formulas will compute filler metal volume, deposition rates and total material cost. Quick unit-conversion cells let you switch between SI and Imperial without recalculation errors.
When you adopt estimating software like WeldCostCalc or FabSuite, configure labor rates, machine rates and overhead multipliers once; the system propagates those values across bids, improving cost accuracy and repeatability.
Automated checks flag outlier inputs and reduce manual transcription mistakes, accelerating reliable estimates.
Combine spreadsheet detail for component-level math with estimating software for report consolidation and audit trails, so each quote links raw geometry to summarized costs and supports defensible pricing decisions.
Products Worth Considering

WORKS IN UNITS THAT WORK FOR YOU -- enter dimensions directly in feet, inches, fractions, yards and meters including square and cubic formats and then instantly convert to...
Practical Tips and Common Pitfalls in Costing
Having set up spreadsheets and estimating software to convert weld geometry into line-item costs, you’ll now focus on practical tips and common pitfalls that quietly skew estimates. You must guarantee cost estimation captures labor, materials, equipment, overhead, and duty cycle impacts on labor efficiency.
Base inputs on historical job data to reveal hidden costs and validate productivity assumptions. Verify dimensional entries, welding parameters, and machine duty cycles in every calculator run to prevent large variances.
- Cross-check duty cycle and arc-on time against real shift data to adjust labor rates.
- Reconcile spool and consumable usage with past consumption to avoid material underestimates.
- Use automated calculators but audit formulas and units to prevent cascading errors.
- Include maintenance, setup, and downtime explicitly in overhead allocations.
- Run sensitivity checks on key drivers (weld length, travel speed, deposition rate) to quantify risk.
Apply these steps consistently to tighten bids and improve margin predictability.
Frequently Asked Questions
How Do Warranty and Liability Costs Affect Welding Project Pricing?
You factor warranty implications and liability insurance into pricing by adding estimated repair reserves, extended warranty costs, and insurance premiums, adjusting hourly rates and contingency percentages to cover potential claims, downtime, and higher-risk weld procedures.
Should Scrap and Rework Rates Be Charged per Part or Overall?
Charge scrap and rework rates per part when feasible, because you’ll get precise cost allocation and drive better scrap management; for assemblies or high-mix runs, aggregate rates plus targeted rework strategies reduce admin burden while preserving cost control.
How to Factor in Seasonal Labor Rate Fluctuations or Overtime?
Test a labor-rate model visually to compare peaks; you’ll apply seasonal adjustments, factor overtime multipliers, and use labor negotiations outcomes to lock rate bands, run scenario costings, and update part-level and total labor charges.
Do Environmental Compliance Fees Alter Per-Weld Cost Estimates?
Yes — you’ll add environmental regulations-driven compliance expenses into per-weld estimates; quantify permit fees, monitoring costs, disposal charges, and mitigation investments, then allocate them across welds to get precise, traceable incremental cost-per-weld adjustments.
How to Apportion Shared Equipment Costs Across Multiple Projects?
Of course you shouldn’t track equipment usage — unless you want accurate project budgeting; allocate shared equipment by hours-used or machine-rate, include depreciation, maintenance, and overhead, then prorate costs per project for precise, auditable cost allocation.
Conclusion
You’ll now be able to cost welding jobs precisely, avoiding guesswork and hidden losses. By defining weld geometry, choosing the process, calculating filler volume and arc time, and adding labour, equipment, power and overhead, you’ll produce reliable bids that protect margin. Use spreadsheets or estimating software, validate inputs on the shop floor, and watch for common pitfalls. Like a courtly scholar with an abacus, you’ll turn measurements into profit-driven decisions that are technically sound and verifiable.
