Last updated: September 7, 2026
Author: Logan Barrett
Plastic welding cost depends on what you are repairing and how the job is done. Entry-level DIY plastic-welding tools currently start in the low-$20 range, while more complete consumer kits commonly cost around $30–$40. Professional automotive plastic repair has no single flat price: a cracked or torn bumper that needs repair and refinishing can fall roughly in the $400–$1,200 range in current U.S. planning estimates. Industrial tanks, pipes, sheets, and fabricated parts are normally quoted job by job.
Quick Answer
For a practical 2026 budget, separate the welding tool from the complete repair:
- Entry-level DIY tool: roughly $20–$40 for many consumer plastic-welding or hot-staple kits before tax or shipping.
- DIY materials: welding rod, staples, abrasives, cleaner, mesh, primer, paint, or other finishing supplies can add to the tool cost.
- Professional automotive plastic repair: roughly $400–$1,200 is a useful planning range for many cracks, punctures, or tears that can be repaired and refinished, but local quotes vary.
- Industrial or custom plastic welding: usually quote-based because material, joint length, access, certification, equipment, and labor requirements vary widely.
- Important: identify the plastic before welding. True fusion welding works on compatible thermoplastics; not every plastic can be fusion welded.

This hardcover cookbook offers fast, approachable recipes designed for busy days and low-energy nights. Caroline Chambers focuses on simple, flavorful meals that help you get dinner on the table without overthinking it. It's a practical pick for home cooks who want quick weeknight inspiration and minimal-fuss cooking.

Die With Zero offers a fresh perspective on personal finance by encouraging readers to use money intentionally to create memorable life experiences instead of simply accumulating wealth. Written by Bill Perkins, this book combines practical guidance with a motivating philosophy to help readers align spending, saving, and life goals for a more fulfilling future.

This practical guide brings together traditional skills and self-sufficiency knowledge in one accessible reference. It helps readers learn time-tested home, craft, and survival techniques with clear guidance suited for beginners and hobbyists alike. Ideal for anyone interested in homesteading, DIY living, or preserving old-fashioned know-how.
Overview of Plastic Welding Costs
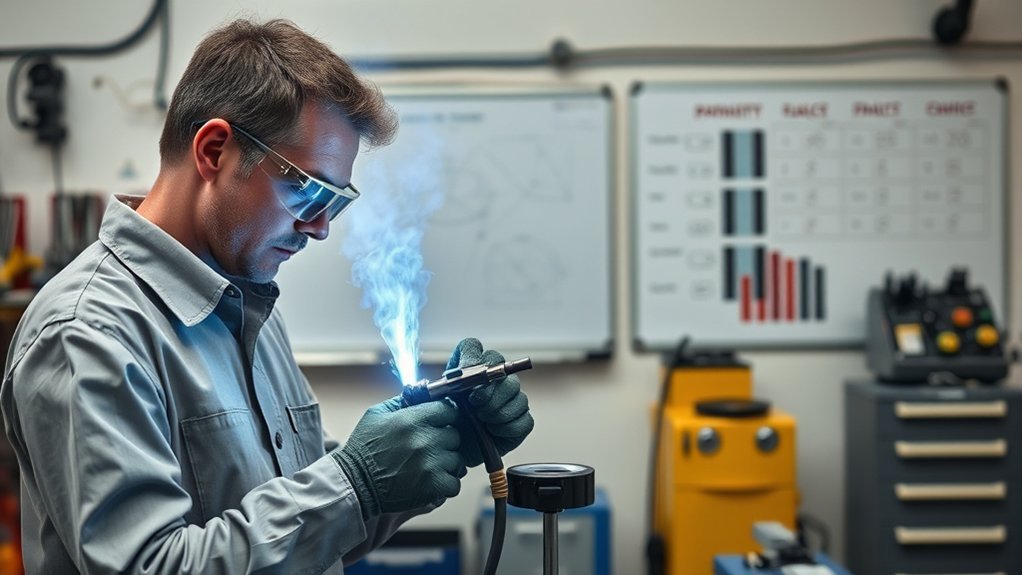
The price of plastic welding is easier to understand when you divide it into four parts: the tool, repair materials, labor, and finishing work. A small household repair may need only an inexpensive tool and matching filler material. An automotive bumper can also require removal, reinforcement, sanding, primer, paint, reassembly, and inspection of components behind the cover.
As a current retail example, VEVOR listed consumer plastic-welding tools from about $20.90 to the mid-$30 range when this guide was updated. Prices and promotions change, so treat these as a market snapshot rather than a permanent price. See the current VEVOR plastic-welder listings.
Key takeaway: the welding operation itself may be inexpensive. Preparation, refinishing, disassembly, hidden damage, and professional labor are often what make a complete repair cost much more.
For vehicle-specific paint, replacement, sensor, and bumper pricing, see our bumper repair cost guide. This article focuses specifically on the plastic-welding part of the decision.
DIY Plastic Welding: Tools and Materials Needed
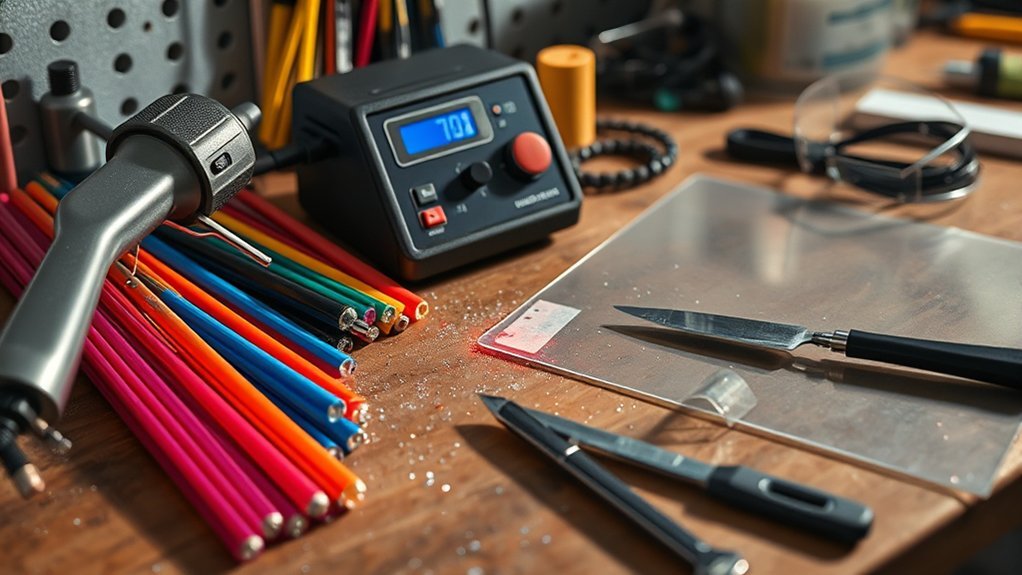
A DIY plastic repair starts with identifying what type of plastic you have. Look for a molded material code such as PP, PE, ABS, PC, or another resin marking on the back or underside of the part.
For true fusion welding, the filler material normally needs to be compatible with the base plastic. For example, polypropylene is generally repaired with polypropylene filler rather than an unrelated plastic. Polyvance notes that matching filler material to the base material is important for a quality repair. See its plastic-identification guidance.
Your tool list may include:
- A plastic welder, hot-air tool, or airless welding tool suited to the repair.
- Matching welding rod when performing a fusion weld.
- A hot stapler when reinforcement across a crack is appropriate.
- Cleaner, scraper, abrasive paper, cutters, or a rotary tool for preparation.
- Reinforcement mesh where the selected repair procedure calls for it.
- Gloves, eye protection, and suitable ventilation.
- Primer, filler, paint, or clear coat when a cosmetic finish is required.
Hot stapling is not exactly the same as fusion welding. A hot stapler embeds metal staples across a crack to reinforce it. True plastic fusion welding softens compatible thermoplastic at the joint and joins it as it cools. Some consumer repair kits combine both techniques.
Leister describes plastic welding as joining thermoplastic workpieces with thermal energy and pressure. That distinction matters because thermoset plastics do not behave like ordinary meltable thermoplastics. See Leister’s plastic-welding technical overview.
Professional Plastic Welding Services: What to Expect
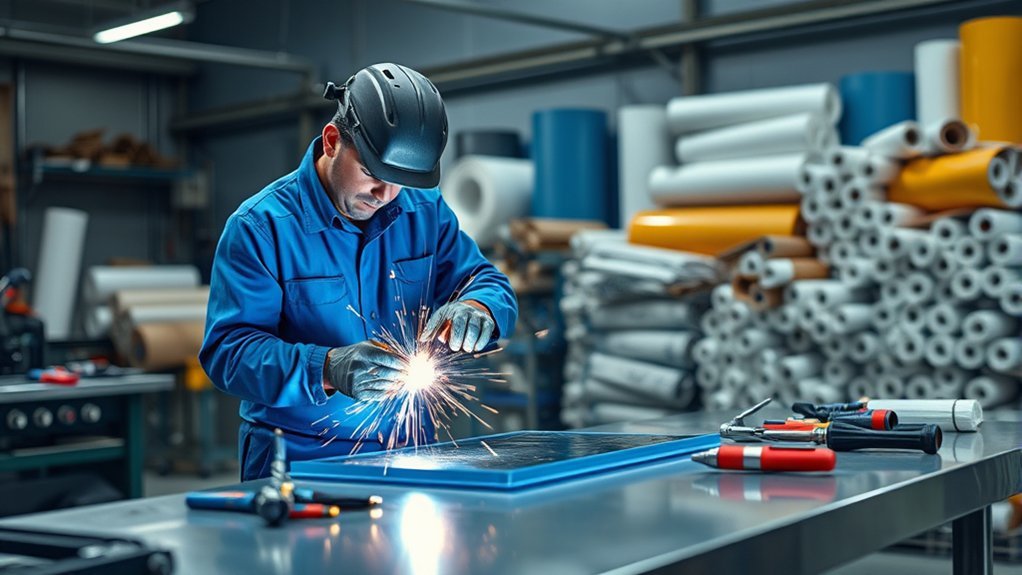
Professional plastic-welding prices depend on far more than the length of a crack. A technician first needs to determine the material, damage location, repair method, access, and whether the surrounding part is still suitable for repair.
On an automotive bumper, a complete job may include:
- Inspecting the bumper cover, mounting tabs, and nearby components.
- Removing trim or the bumper cover when rear access is required.
- Cleaning and preparing both sides of the damaged area.
- Welding, bonding, reinforcing, or combining repair methods according to the material.
- Sanding and reshaping the visible surface.
- Priming, color matching, painting, and applying clear coat.
- Reinstalling the cover and checking fit and panel gaps.
- Inspecting sensors, wiring, brackets, or other equipment affected by the impact.
3M publishes professional procedures for cosmetic bumper repair, cracks, tears, and plastic tabs, showing why a finished collision repair can involve much more work than simply melting plastic along a crack. See 3M’s bumper and plastic repair guidance.
Ask the shop for an itemized estimate and whether its workmanship or refinishing warranty applies to the repair. Do not assume every shop offers the same warranty.
Comparing DIY and Professional Repair Costs
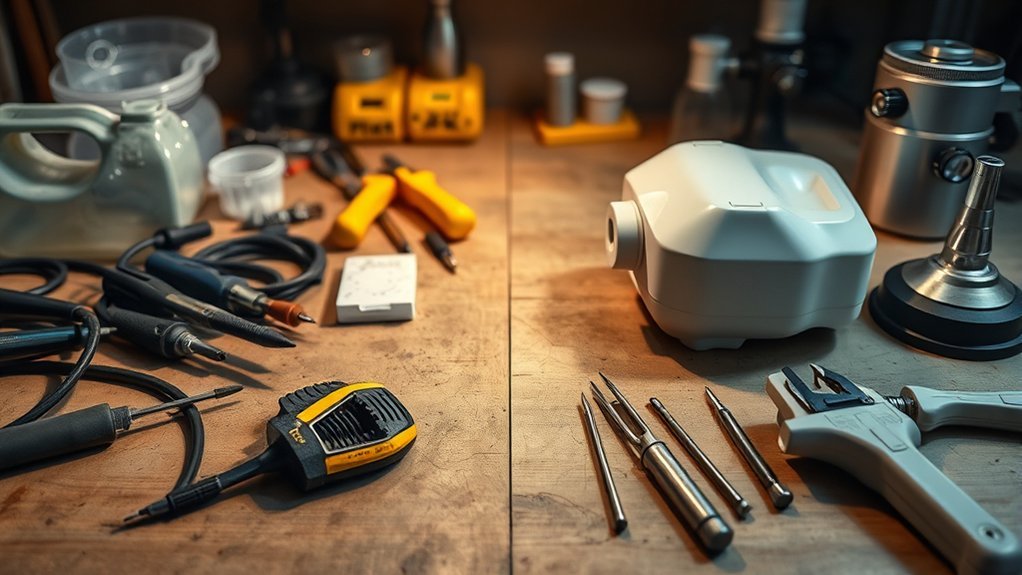
DIY usually has the lowest cash cost when the damage is small, the plastic is identifiable, the repair is accessible, and you are comfortable preparing and finishing the joint. Professional repair becomes more attractive when the part is expensive, appearance matters, rear access is difficult, or a failed repair could create a larger problem.
| Approach | Typical Planning Cost | Best Fit |
|---|---|---|
| Entry-Level DIY Tool | About $20–$40 | Small, accessible consumer repairs |
| DIY Tool + Finishing Materials | Higher than tool price alone | Repairs needing sanding, filler, primer, or paint |
| Professional Automotive Crack/Tear Repair | Roughly $400–$1,200 | Repairable bumper damage needing professional prep and refinishing |
| Industrial or Custom Plastic Welding | Quote-based | Tanks, pipes, sheet fabrication, large components, or specialized work |
These figures are planning ranges, not fixed quotes. Location, material, damage severity, access, labor rates, paint requirements, and vehicle equipment can all change the final bill.
Factors Influencing Plastic Welding Prices
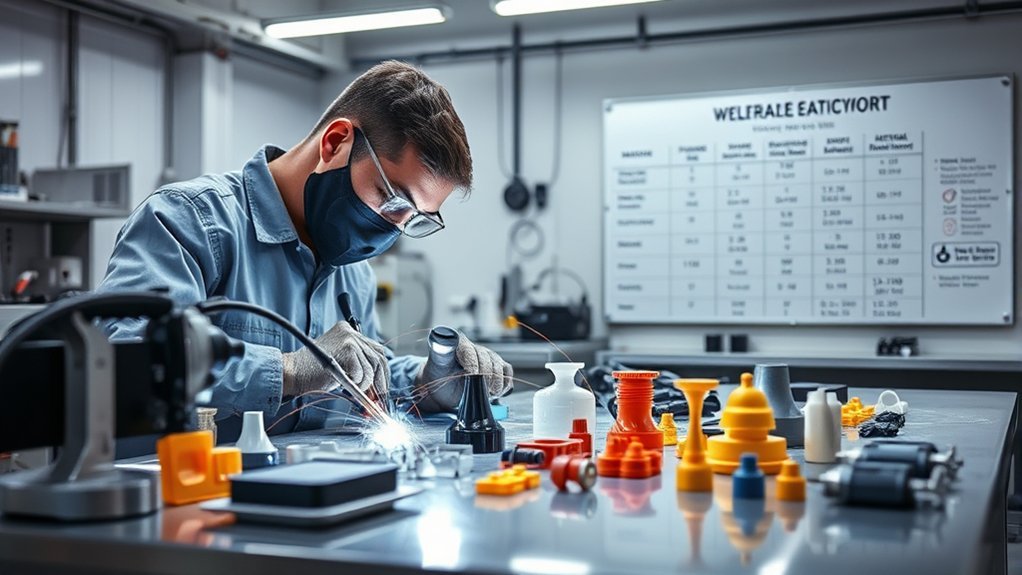
The repair method is only one part of the price. These factors usually matter more than a single national average:
| Cost Factor | Why It Changes the Price | What to Check |
|---|---|---|
| Plastic Type | Different polymers need different procedures and compatible filler materials | Look for the molded resin code |
| Damage Size and Location | Long tears, corners, tabs, and complex shapes require more preparation | Check both sides of the part |
| Access and Disassembly | Removing a bumper, trim, tank, panel, or hardware adds labor | Ask whether removal/refitting is included |
| Finishing | Sanding, filler, primer, paint, blending, and clear coat can exceed the welding cost | Ask for labor and materials separately |
| Sensors or Hidden Components | Modern vehicle bumpers may contain wiring, sensors, brackets, or radar-related hardware | Inspect more than the visible crack |
For a useful comparison, ask each shop to quote the same scope. A low quote that covers only welding is not directly comparable with a quote that includes removal, reinforcement, paint, reinstallation, and inspection.

This silky, lightweight K-beauty face primer visibly smooths skin and minimizes the appearance of pores for a refined, velvety look. Its soft-matte finish helps reduce shine and creates a smooth base that supports longer-lasting makeup wear without feeling heavy. Suitable for all skin types, it works well under powder, liquid, or cream foundation and is designed to glide on evenly for a flawless finish.

The DeLonghi Water Filter helps reduce scale buildup and unwanted impurities that can affect your coffee machine's performance and taste. Its active carbon and ion-exchange technology helps improve brew consistency, maintain flavor, and reduce the need for frequent descaling. Designed as an OEM authorized replacement part, it fits select DeLonghi models for reliable everyday maintenance.

The ANCEL AD310 is a compact OBD II scanner designed to quickly diagnose check engine light issues by reading and clearing emission-related trouble codes. It also provides live data, freeze frame, I/M readiness, and vehicle information, making it a practical tool for drivers and home mechanics. With broad compatibility across many 1996 and newer OBD2 vehicles, it is a simple, fast, and portable way to check engine problems.
Long-term Cost Implications of Ignoring Repairs
A small crack does not automatically become an expensive replacement, but damage can spread under vibration, flexing, impacts, or repeated loading. The longer crack may then require more preparation and reinforcement, or the part may stop being economical to repair.
Early inspection also matters because the visible plastic may not show everything that happened during an impact.
Escalating Repair Costs
The cost can rise when a simple crack develops into a tear, reaches an edge or mounting point, damages the finish over a wider area, or requires removal of additional components.
On vehicle bumpers, replacement can also introduce part cost, painting, installation, diagnostic work, or sensor-related procedures. That is why an early estimate is more useful than assuming every crack will remain a simple welding job.
Structural Integrity Risks
A damaged plastic cover should not be treated as proof that a vehicle’s underlying impact structure has failed. However, a collision can also affect mounting tabs, an energy absorber, reinforcement, wiring, brackets, sensors, or other components hidden behind the cover.
If the damage followed an impact rather than normal wear, inspect the complete area instead of judging safety from the visible plastic alone.
Long-term Durability Concerns
Repair durability depends on correct material identification, joint preparation, compatible filler, heat control, reinforcement where required, and the loads the part experiences afterward.
Use these steps to reduce repeat repairs:
- Repair cracks before repeated flexing makes them longer.
- Identify the plastic before choosing filler or a welding method.
- Do not rely on a hot staple alone when the repair procedure also requires fusion, bonding, or surface finishing.
- Check repaired areas periodically if the part is exposed to vibration, flexing, weather, or impact.
DIY vs. Professional Repairs: Where Each Approach Works Best
A DIY repair is most attractive when you can identify the material, reach the damaged area easily, practice the technique first, and tolerate a less-than-perfect cosmetic finish. It can also make sense for utility items such as bins, housings, some outdoor equipment, and non-critical plastic parts.
A professional repair is more sensible when appearance matters, the component is expensive, the crack runs through a mounting area, access requires major disassembly, or the damage is close to vehicle electronics or sensors.
The key question is not simply, “Can I melt this crack together?” It is, “Can I identify the material, restore the joint correctly, and verify that nothing else needs repair?”
Making the Right Choice for Your Repair Needs
Compare repair cost with replacement cost, but also compare risk. A $30 tool can be economical when the job is simple. It is less economical if an unsuccessful attempt damages an expensive part or adds refinishing work.
DIY Repair Benefits
DIY plastic welding can be worthwhile when the repair is within your skill level.
Main advantages include:
- Lower labor cost: you pay mainly for tools and materials.
- Reusable equipment: a suitable welder can be used for future compatible repairs.
- Control: you decide how much preparation and cosmetic finishing the job receives.
- Fast access: you do not need to schedule a shop for a simple non-critical repair.
The tradeoff is that material identification, temperature control, joint preparation, and technique still determine whether the repair lasts.
Professional Repair Considerations
A professional quote should tell you more than the final dollar amount. Ask what work is actually included.
| Question to Ask | Why It Matters |
|---|---|
| Is the plastic repairable? | Material and damage location can change the repair method |
| Does the quote include removal and refitting? | Rear access can add significant labor |
| Is refinishing included? | Primer, color matching, paint, and clear coat can be a major part of the bill |
| Are hidden parts being inspected? | A visible crack may not show tab, bracket, absorber, wiring, or sensor damage |
| Is there a workmanship warranty? | Warranty terms differ by shop and repair type |
Cost Comparison Analysis
The biggest DIY saving comes from avoiding professional labor and refinishing. The actual plastic filler or staples may be a small part of the total cost.
For a simple utility item, a roughly $20–$40 consumer tool may be all you need beyond consumables. For a painted vehicle bumper, however, the total repair can include disassembly, structural repair, sanding, filler, primer, color matching, paint, clear coat, reinstallation, and inspection. Comparing only the price of a welding tool with the total body-shop invoice is therefore not an apples-to-apples comparison.
Frequently Asked Questions
Can All Types of Plastic Be Welded?
No. True fusion welding is mainly used with compatible thermoplastics that soften when heated and solidify again as they cool. Examples include many PP, PE, ABS, and other thermoplastic parts. Thermoset materials do not remelt in the same way and may require bonding or another repair technique. Polyvance, for example, notes that thermoset polyurethane does not form a true fusion weld even though specialized hot-melt repair techniques can be used. See Polyvance’s polyurethane repair guidance.
How Long Does a Typical Plastic Welding Repair Last?
There is no reliable universal lifespan. A properly prepared repair can be durable, but longevity depends on the plastic, material compatibility, weld penetration, reinforcement, load, vibration, temperature, UV exposure, and whether the repaired part keeps flexing in service.
Is Plastic Welding Suitable for Outdoor Items?
Yes, many outdoor thermoplastic items can be welded when the material and repair method are compatible. The weld itself is only part of durability, though. UV exposure, temperature swings, water, chemicals, stress, and movement can still affect the surrounding plastic over time.
What Safety Precautions Should I Take During Plastic Welding?
Wear eye protection and suitable heat-resistant gloves, keep the work area ventilated, and avoid overheating or burning the plastic. Follow the welder manufacturer’s instructions and the safety information for the material you are heating. Plastics can produce hazardous fumes when overheated, and some materials require stronger controls than ordinary room ventilation. The UK Health and Safety Executive provides guidance on controlling fumes during plastics processing, while TWI specifically warns about fume hazards when hot-gas welding certain fluoropolymers in its plastic welding safety guidance.
Can I Repaint Over a Welded Area Immediately?
Not immediately. Let a fusion weld cool completely before sanding or refinishing it. A thermoplastic fusion weld solidifies as it cools rather than “curing” like an adhesive. If the repair also uses adhesive, filler, adhesion promoter, primer, paint, or clear coat, follow each product’s specified cure, flash, and recoat times.
Is a Hot Stapler the Same as a Plastic Welder?
Not exactly. A hot stapler heats a metal staple and embeds it across a crack to reinforce the plastic. Fusion welding softens compatible plastic at the joint so the material bonds as it cools, often with a matching filler rod. Some repair kits include both a stapler and a welding or smoothing tool.
When Should I Replace Plastic Instead of Welding It?
Replacement deserves consideration when the material cannot be repaired reliably, the damage is extensive, important mounting points cannot be restored correctly, the part remains badly distorted, or the repair approaches the cost of a suitable replacement. On a vehicle, hidden impact damage or manufacturer restrictions around sensor areas can also change the decision.
Conclusion
Plastic welding can be inexpensive when the job is small and you already understand the material and repair method. For DIY work, entry-level tools commonly start around $20–$40. Professional automotive repair costs much more because the invoice may include disassembly, reinforcement, surface preparation, paint, reinstallation, and inspection rather than welding alone.
Before spending money, identify the plastic, inspect both sides of the damage, and decide whether the job needs true fusion welding, hot-staple reinforcement, adhesive repair, or replacement. For a professional job, compare itemized quotes that cover the same scope instead of choosing solely by the lowest headline price.

The Veepeak OBDCheck BLE is a Bluetooth OBD-II scanner designed for iOS and Android users who want an easy way to read and clear check engine light codes. It supports generic diagnostics such as freeze frame data, I/M readiness, and live sensor readings through compatible third-party apps. Built for most 1996+ vehicles in the US, it connects over Bluetooth LE and works with popular apps for everyday vehicle troubleshooting and monitoring.

This daily devotional helps parents pray purposefully for their children through a full year of Scripture readings, reflections, and guided prayer prompts. Written to encourage faithful family discipleship, it offers practical, biblically grounded support for parents who want to shape their prayers around God's Word. A foreword by Sinclair B. Ferguson adds trusted theological insight and encouragement.

Aegend Swim Goggles are designed to help swimmers enjoy a clear, comfortable, and secure fit in the pool. Built for adults and youth, they aim to reduce leaking and provide full eye protection for training, recreation, and water sports. Their versatile design makes them a practical choice for men and women looking for dependable swim eyewear.