
If you’re planning a welding bed, you’ll want a clear breakdown of where your money will go so you can make practical choices without surprises. Costs hinge on steel quality, dimensions, accessories like toolboxes and jacks, and whether you hire a fabricator. I’ll outline typical price ranges, common add-ons, labor expectations, and how to build a realistic budget — including a contingency — so you can decide which tradeoffs matter most.
Key Factors That Influence Welding Bed Costs
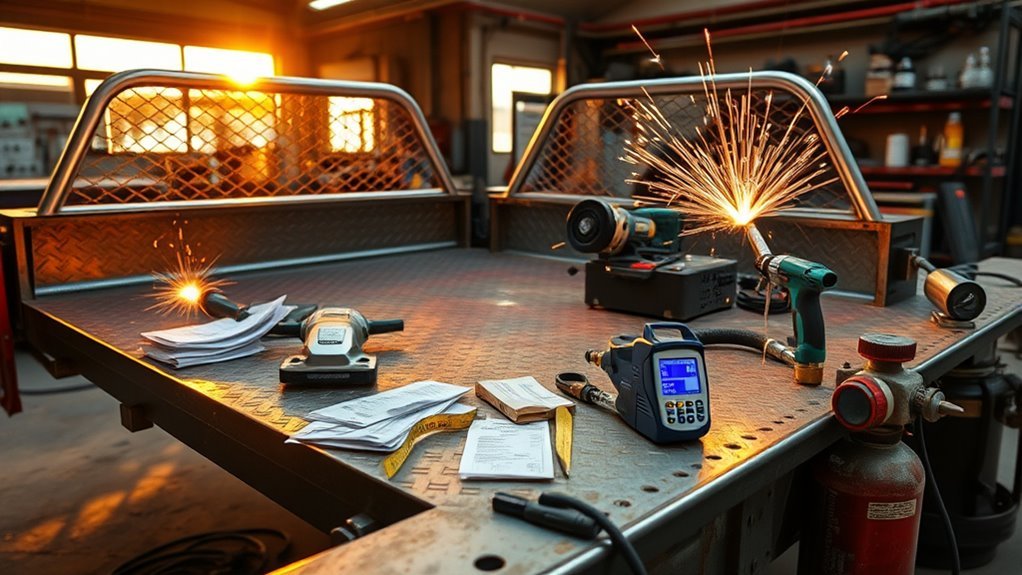
Materials, accessories, and prep work drive most of a welding bed’s price, so you’ll want to budget beyond the base unit. You’ll start with a standard 1/4 round pipe toolbox base at roughly $550, then layer in welding bed features and accessories that change the cost breakdown dramatically.
Locking LeadWell lids run about $60 each, jack stand boxes add $275, and specialized reels — like a Tidweld O2/Acet with hose — can tack on $1,500, turning a basic bed into a substantial investment.
Locking LeadWell lids cost about $60 each, jack stand boxes $275, and specialized reels (Tidweld O2/Acet) roughly $1,500.
Prep work matters: sandblasting typically costs $350 and undercoating about $250, both affecting longevity and resale.
Cosmetic and protective finishes also shift totals — single color paint is around $1,200, while reflex bedliner is about $600.
You’ll weigh immediate utility against long-term value: prioritize essential safety and storage features first, then add specialty components and finishes based on budget and intended use.
Products Worth Considering

【Premium Quality】Using integral forging and welding processes, it has a solid structure. Compared with other products, it has higher strength and a longer service life, the safe working load is 2500 pounds and the minimum breaking strength is 5000 pounds.

High carbon steel chipping hammer for maximum strength,10-1/2-inch overall length,spring handle designed to absorb the shock of contact while cleaning and shipping way welding debris

●High carbon steel chipping hammer,heat treated,10-1/2-Inch overall length.1-1/16" width chisel to remove welding slag faster,●Leather welding gloves are heat and flame resistant,have a comfortable cotton lining,fully welted seams,and lock-stitch construction
Base Materials and Surcharges
You’ve seen how accessories and prep work add up; now look at the raw inputs that set the baseline cost: the base materials and any surcharges for making them into a usable welding bed.
Your material selection drives the biggest delta: common choices are steel (cheaper, heavier) or aluminum (lighter, pricier). Gauge, plate size, and alloy grade shift per-pound pricing and influence required welding processes.
Expect surcharges tied to custom fabrication: complex contours, cutouts, and jigs increase shop hours and add percentage markups.
Labor for skilled welders and assemblers is a predictable line item; more intricate fabrication techniques — TIG vs. MIG, precision fixturing, post-weld heat treatment — increase both time and cost.
Don’t forget hidden finishes like paint or bedliner, which add small but real surcharges.
To control budget, quantify material grades and specify fabrication techniques up front so quotes reflect true baseline costs rather than surprises during build.
Common Accessories and Their Prices
You’ll want to budget for toolboxes and holders like a 1/4 round pipe toolbox ($550) and optional dividers ($100 each) to keep gear organized and accessible.
Don’t forget reels and finishing items—like the Tidweld O2/Acetylene reel with hose ($1,500) and Locking LeadWell lids ($60 each)—which affect both workflow and security.
Add a Jack Stand Box ($275) when you need safe vehicle support, and tally each accessory to get an accurate total.
Products Worth Considering

Built for A Lifetime: Stripe tread pattern reinforces the aluminum material for maximum strength and longevity. Rust and corrosion resistant construction offer years of dependability.

12-Piece Welding Table Fixture Pin Set: This set includes 12 fixture pins (5/8" x 1" x 2") for welding tables with 5/8" (16mm) Holes. Easy to use, these pins ensure secure positioning for precise welds, improving efficiency across various welding tasks.
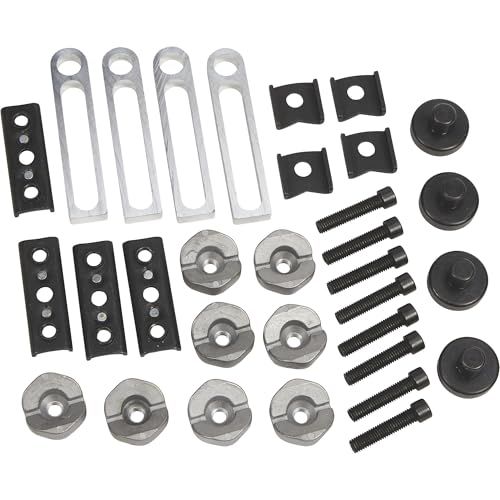
32-pc. kit includes parts needed to fix round and square tube or plate
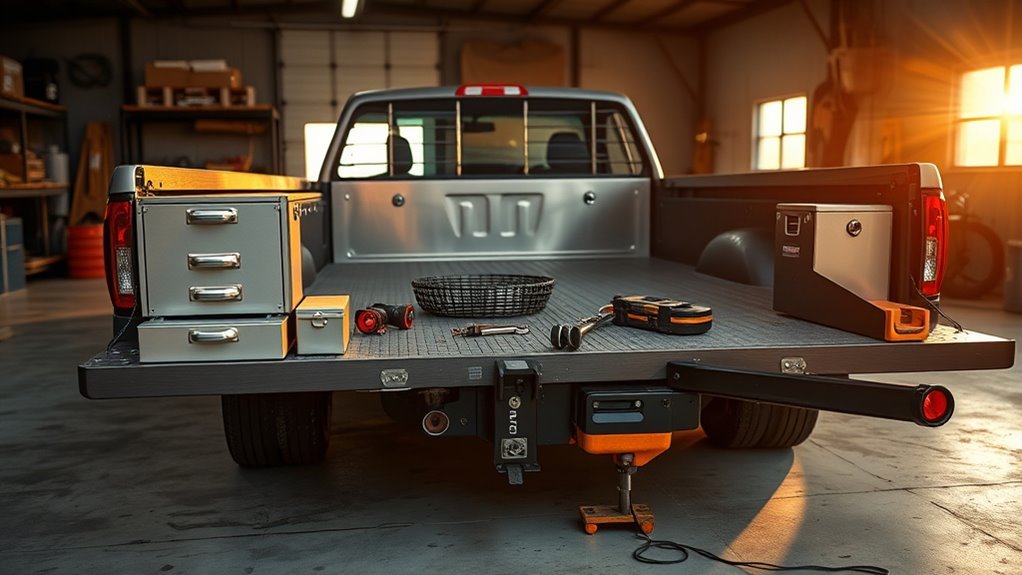
Toolboxes and Holders
Several common toolboxes and holders make a welding bed far more functional and organized, and knowing their typical prices helps you budget accurately.
For toolbox organization, a 1/4 round pipe toolbox at $550 gives substantial locked storage and fits curved bed profiles. Rear toolbox dividers run about $100 each, letting you partition sockets, cutters, and consumables for quick access. Locking LeadWell lids cost $60 apiece, adding theft-resistant covers to open compartments.
For holder utility, the O2 rack’s ice chest and water cooler holders are $75 each, keeping hydration and cooling within reach without cluttering the deck. Add a jack stand box for $275 to stow heavy support gear securely.
Totaling these items helps you prioritize purchases by function and cost.
Reels and Finishing
When outfitting a welding bed, reels and finishing choices directly affect both workflow and long-term durability, so plan their costs into your build budget.
You’ll evaluate reel types: Tidweld O2/Acetylene Reel with hose ($1,500), Tidweld Stinger Reel ($1,500), Tidweld Rheostat Reel with 3-conductor cord ($1,625) and the premium Tidweld Rheostat Reel with 4-conductor cord ($2,000).
Match capacity and control needs to price.
For finishing techniques, factor sandblasting ($350), undercoating ($250), and priming ($400) as preparatory steps that extend life.
A single-color paint job (non-metallic or pearl) runs $1,200; Reflex Bedliner on the topside adds $600 for impact and chemical resistance.
Prioritize combinations that optimize protection without overspending.
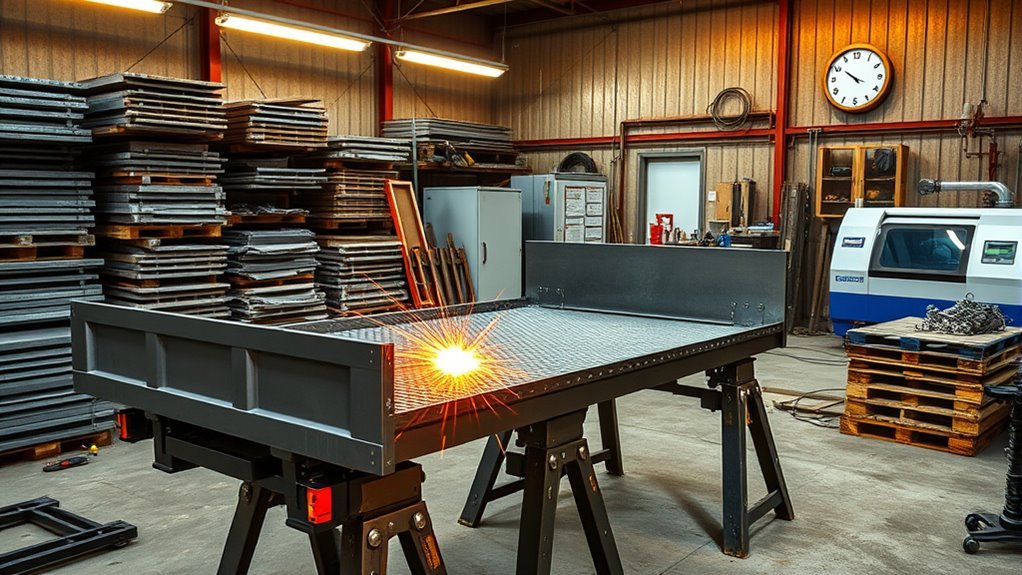
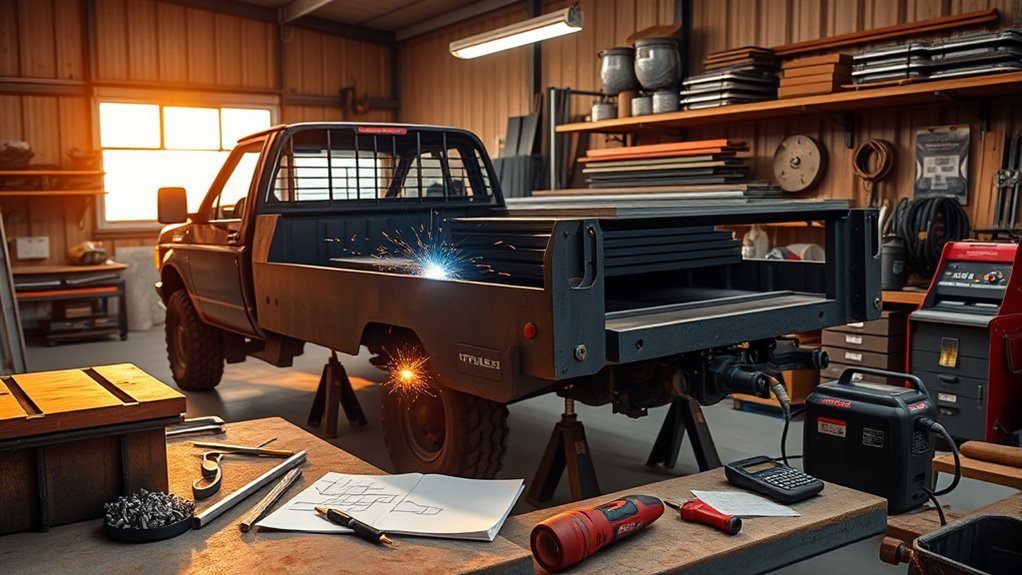
Labor, Fabrication, and Installation Expenses
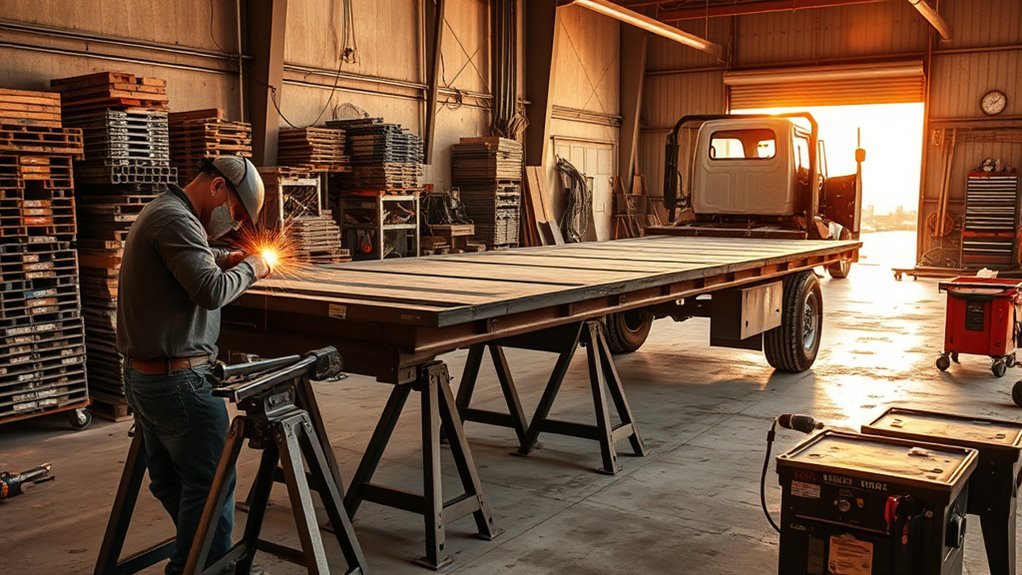
Although design complexity drives most of the cost, you’ll typically pay welders $50–$100 per hour, and that rate compounds quickly as fabrication and finishing time add up. You should estimate labor by mapping welding bed design stages to a project timeline: cutting, tack, full welds, fit-up, and assembly. Material costs (steel $1.50–$3.00/lb) and custom features like toolboxes ($550) or reel systems ($1,500) increase fabrication hours and need for specialized jigs or machines, which can add hundreds to thousands more. Installation often requires lifts or fixtures that add labor and rental fees.
| Expense Category | Typical Impact |
|---|---|
| Welder hourly rate | $50–$100/hr |
| Steel material | $1.50–$3.00/lb |
| Custom features | +$550 to $1,500+ |
| Specialized equipment | +$100s–$1,000s |
| Project timeline | Days–weeks (affects labor) |
Estimate total labor by multiplying expected hours by rate, then add materials and equipment margins for a practical budget.
Products Worth Considering

HEAVY DUTY AND DURABLE: Queen metal bed frame has a strong frame and a sturdy steel salts structure, seamless welding, no noise, prevent scratching and creaking, and with anti-scratch gaskets to protect your floor

Easy to Assemble: This Avenco bed frame is designed for easy, hassle-free setup with included tools and clear instructions. The simple structure allows you to put everything together quickly, creating a stable foundation without the frustration of complicated parts or extra hardware.

Multi-Angle Bracing: Maenizi bed frame is supported by 6 legs, stable and not shaking, evenly stressed and reasonably share the weight of the bed, to avoid the mattress sinking, durable and breathable.
Options for Finishing and Protection
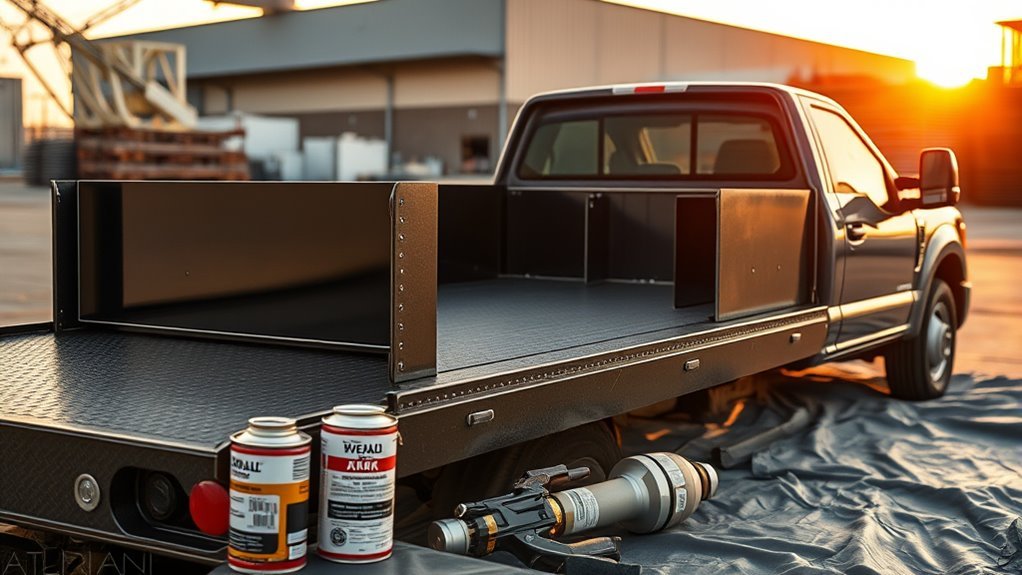
Once your welding bed is fabricated and set in place, you’ll need to decide how to protect and finish it to meet durability and appearance goals.
Start by evaluating finishing techniques against expected use: sandblasting ($350) removes mill scale and creates a clean profile for coatings; priming ($400) improves paint adhesion and corrosion resistance; painting in a single color ($1,200) provides the aesthetic finish you might want.
For functional protection options, consider undercoating ($250) to guard against rust and corrosion in exposed areas, and a Reflex bedliner on the topside ($600) where abrasion and impacts are frequent.
You can combine steps—sandblast, prime, then paint or apply bedliner to high-wear surfaces—to balance cost and longevity.
Quantify exposure, maintenance tolerance, and appearance priorities, then select the minimal combination of finishing techniques and protection options that achieves service life targets without unnecessary expense.
Typical Cost Scenarios and Example Builds
You’ll see how costs shift when you compare a Basic Budget Build, a Midrange Professional Setup, and a Fully Loaded Custom by breaking each into component line items.
For example, a budget build will lean on essential boxes and minimal finishes to stay near $1,000–$1,500. A midrange setup adds items like a Jack Stand Box and sandblasting to hit roughly $2,000–$3,000, and a fully loaded custom can exceed that once you add a Tidweld reel, undercoating, and multiple locking lids.
We’ll then walk through sample parts lists and exact prices so you can match features to your target budget.
Basic Budget Build
A basic budget build for a welding bed usually starts around $1,000, and you can plan that figure precisely by adding or skipping specific options and accessories.
For budget considerations, list essential features first: a 1/4 round pipe toolbox (~$550) and locking leadwell lids ($60 each).
Add structural or storage items only as needed — a jack stand box ($275) and rear toolbox dividers ($100) increase capability but raise cost.
Include modest utility holders like an ice chest or water cooler holder on the O2 rack ($75) for convenience.
Add finishing selectively: sandblasting ($350) and undercoating ($250) improve durability but aren’t mandatory on a tight budget.
Tally choices to keep the build within your financial target.
Midrange Professional Setup
When you step up from a budget build, plan for a professional midrange welding bed that balances durability and useful tooling without overspending.
Expect core hardware like 1/4 round pipe toolboxes ($550) and a jack stand box ($275) to already account for about $825.
You’ll choose welding bed materials and professional welding accessories to meet shop demands: locking LeadWell lids ($60 each), rear-box dividers ($100 each), a Tidweld O2/Acetylene reel with hose (~$1,500), plus finishing like sandblasting ($350) and undercoating ($250).
Typical totals land between $3,000–$5,000 depending on options and quantities.
- Core hardware: toolboxes and jack stand box — $825
- Organization: lids and dividers — incremental costs
- Gas setup: Tidweld reel — +$1,500
- Finish: sandblast + undercoat — $600
Fully Loaded Custom
If you want a truly fully loaded custom welding bed, expect costs to climb quickly as you add specialty reels, heavy-duty vises, reinforced storage and professional finishes.
You’ll plan by listing components: a Tidweld rheostat reel ($1,625) or smaller 1/4 round pipe toolbox ($550), a Wilton 6 vise (~$400), and a Jack Stand Box (~$275).
Add dividers ($100 each) and rear angle iron ($225) for organized storage. Factor bed prep—sandblasting ($350) and undercoating ($250)—and higher-grade welding materials for structural integrity.
Typical configurations push totals into several thousand dollars; the exact sum depends on your custom designs and accessory count.
Build analytically: prioritize must-haves, then add luxury items to control cost.
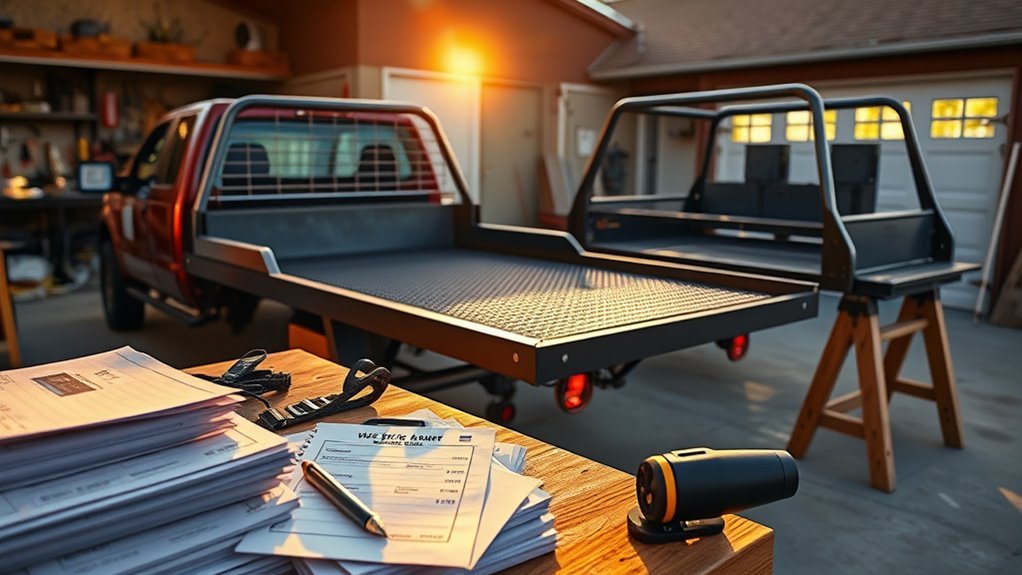
How to Estimate Your Total Project Budget
Start by listing every component and accessory you plan to include—toolboxes (expect at least $550 for a 1/4‑round pipe box and ~$60 per locking lid), mounting hardware like a Wilton 6 vise ($400) and $20 jack‑stand mounts, Tidweld reels ($1,500–$2,000), plus finish options such as sandblasting ($350) and undercoating ($250)—so you can total in‑stock and out‑of‑stock items and identify obvious cost drivers before estimating labor or contingency.
Use that inventory to build a clear cost breakdown and assign budget allocation percentages for parts, labor, and finishes. Price each line item, flag lead times for out‑of‑stock parts, and add a contingency (typically 10–20%).
Build a detailed parts-and-labor cost breakdown, flag out‑of‑stock lead times, and include a 10–20% contingency.
Compare supplier quotes for reels and toolboxes to trim costs. Track mounting and finish choices separately since they change durability and value. Reconcile your subtotal against desired quality; if tidweld reels push you over budget, consider used alternatives or phased upgrades.
Update the budget as quotes firm up to prevent surprises.
- Toolboxes and lids
- Mounting hardware
- Tidweld reels
- Finishes and labor
Frequently Asked Questions
Can I Finance or Get a Loan for a Welding Bed Build?
Yes — you can finance a welding bed build. You’ll compare financing options, meet loan requirements like credit score, income documentation, and collateral, and choose practical terms (interest, repayment period) that fit your budget and project timeline.
Are There Warranties or Guarantees on Custom Welding Beds?
Yes — you’ll usually get warranty coverage on custom welding beds, but terms vary; you’ll need to review coverage limits, exclusions, and duration, and confirm how customization options affect warranty validity and any required maintenance or inspection obligations.
Do I Need Special Permits or Inspections for a Welding Bed?
Yes — you’ll likely need permits and inspections; imagine bureaucrats measuring sparks with clipboards. Check local welding regulations and safety standards, document plans, and schedule inspections so your bed’s legal, compliant, and defensible against liability.
How Long Does Building a Welding Bed Typically Take?
You’ll typically finish a welding bed in a day to a week, depending on building materials and construction techniques; complex jigs, thicker plate, or precision grinds add hours, while simple setups with basic materials go much faster.
Can I Convert an Existing Table Into a Welding Bed?
About 70% of hobbyists successfully convert tables into welding beds. You can modify a table with proper table modifications, reinforce with welding materials, add clamps, grounding, and heat shields, and verify flatness and load capacity before welding.
Conclusion
You’ll treat this build like plotting a blueprint: list materials, accessories, labor, and a 10–20% contingency so costs don’t blindside you. Picture each line item as a brick—base metals and surcharges form the foundation, toolboxes and jack stands stack like rooms, and finishing coats seal the roof. Be pragmatic: get quotes, document specs, and compare midrange ($2k–$3k) versus premium (+$3k) to forecast a realistic, controllable final price.
