Welding in Cricut Design Space is a free way to permanently combine two or more images, words, or shapes into one layer. It is especially useful for joining overlapping script letters, building a continuous silhouette, and removing cut lines where shapes intersect. Because Cricut does not provide an Unweld command, check your layout and duplicate important layers before applying Weld.
Quick Answer
Welding in Cricut Design Space costs $0. Select two or more layers, overlap the areas you want to join, and choose Combine > Weld on desktop or Actions > Combine > Weld on mobile. Weld removes intersecting cut lines and creates one permanent layer.
Key Takeaways
- Weld is included in the free Cricut Design Space software and does not require a separate purchase.
- Weld creates a permanent single-layer result and removes intersecting cut paths.
- Use Unite when you want a similar combined shape while keeping its original objects editable.
- Merge Layers only finalizes an existing Combine group; it is not the same as grouping ordinary layers.
- Use Flatten, not Weld, when you need to turn multilayer artwork into one printable Print Then Cut layer.
At a Glance
| Time Required | About 3–5 minutes for a basic design |
| Difficulty | Beginner |
| Tools Needed | Cricut Design Space and two or more image, text, or shape layers |
| Cost | $0 for the Weld tool; some Cricut images and fonts may cost extra |
What Welding Is and How It Works in Design Space
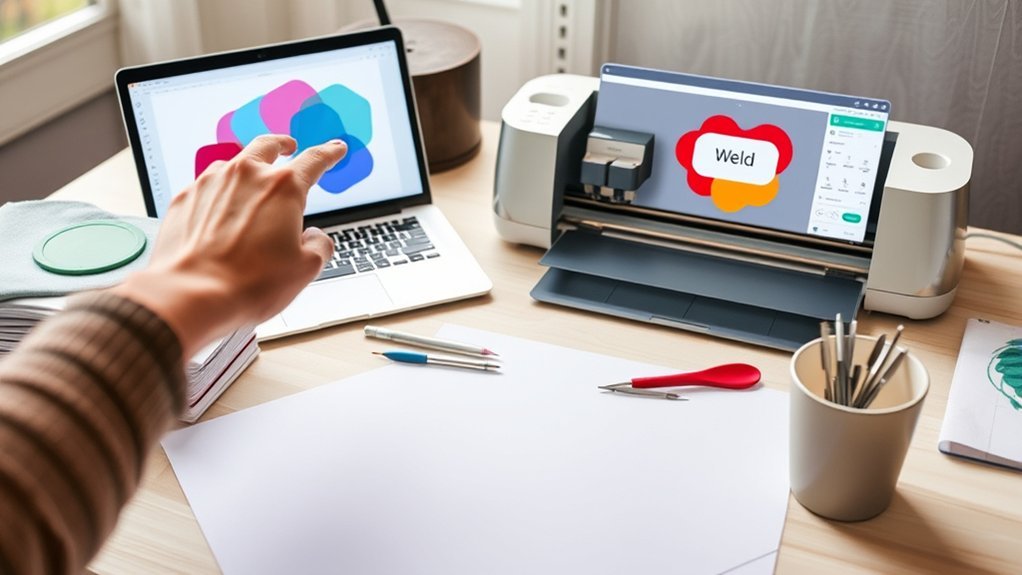
When you use Weld in Cricut Design Space, the software permanently joins two or more selected images, words, or shapes into a single-layer object. Where cut paths intersect, the interior intersecting lines are removed so that only the resulting exterior cut path remains.
For example, imagine overlapping two circles to make a cloud-like shape. Before welding, each circle has its own complete cut line. After welding, Cricut removes the lines inside the overlapping area and treats the new outline as one shape.
Weld is most useful when:
- You want touching script letters to cut as one connected word.
- You are building a continuous silhouette from several shapes.
- You need to remove unwanted cut lines inside overlapping objects.
- You are ready to finalize a design and no longer need to move its parts separately.
The Weld tool itself does not have an extra charge. Cricut describes Design Space as free software. However, the images, projects, or fonts you use in a design may be free, individually purchased, or included through Cricut Access.
Warning: Cricut does not include an Unweld command. You may be able to reverse a recent Weld with Undo, but once the relevant Undo history is gone or you save and close the project, restoring the original layers usually requires a backup copy.
Weld is best treated as a finalizing action: arrange first, duplicate second, and weld only after the cut path looks right.
Comparing Weld, Unite, and Merge Layers
Weld, Unite, and Merge Layers can all produce a single-layer result, but they reach that result in different ways. The most important difference is whether the original objects remain editable.
| Tool | What It Does | Editable Later? | Best Use |
|---|---|---|---|
| Weld | Permanently creates one layer and removes intersecting cut lines. | No, except through available Undo history | Final connected cut shapes |
| Unite | Creates a combined shape while retaining the objects inside an editable Combine group. | Yes | Testing and refining a combined design |
| Merge Layers | Makes an existing Unite, Subtract, Intersect, or Exclude Combine group permanent. | No | Finalizing an approved Combine result |
| Slice | Splits exactly two selected, non-hidden overlapping layers into separate pieces. | The resulting pieces can be edited separately | Cutouts and divided shapes |
| Attach | Keeps layers in their arranged positions or fastens Draw, Score, Foil, or similar operations to a cut layer. | Yes, after Detach | Preserving mat placement without changing paths |
| Flatten | Turns selected artwork into one printable Print Then Cut layer. | Can be reversed with Unflatten in supported current workflows | Multilayer printable designs and stickers |
| Group | Organizes objects so they can be moved or resized together on the Canvas. | Yes, after Ungroup | Canvas organization only |
Weld vs. Unite
Weld and Unite can produce a similar visible outline, but Unite is the safer choice while you are still designing. Objects inside a Unite group remain available in the Layers panel, so you can move, resize, rotate, hide, or delete them and let Design Space recalculate the combined result.
Choose Weld after you have approved the spacing and overlap and want a permanent single layer. Choose Unite when you expect to revise the design later.
Pro Tip: Build a complicated shape with Unite first. After testing the layout, duplicate the Combine group and apply Merge Layers to the copy. This gives you a permanent version and an editable backup.
What Merge Layers Actually Does
Merge Layers does not simply merge any ordinary group. It is part of Cricut’s Combine workflow. After you use Unite, Subtract, Intersect, or Exclude, the selected objects remain inside an editable Combine group. Merge Layers converts that Combine result into a permanent single-layer object.
After Merge Layers is applied, the objects no longer function as an editable Combine group. Use it only after you have checked the size, position, overlap, and final outline.
Editability Differences
The right tool depends on what you need to edit later:
- Use Group when you only want to organize and move objects together.
- Use Attach when separate cuts must retain their Canvas arrangement on the cutting mat.
- Use Unite when you want a combined shape but still need access to its original parts.
- Use Weld when the design is complete and must become a permanent cut shape.
- Use Flatten when the final output should be a printable Print Then Cut layer.
Step-by-Step Guide to Using the Weld Tool
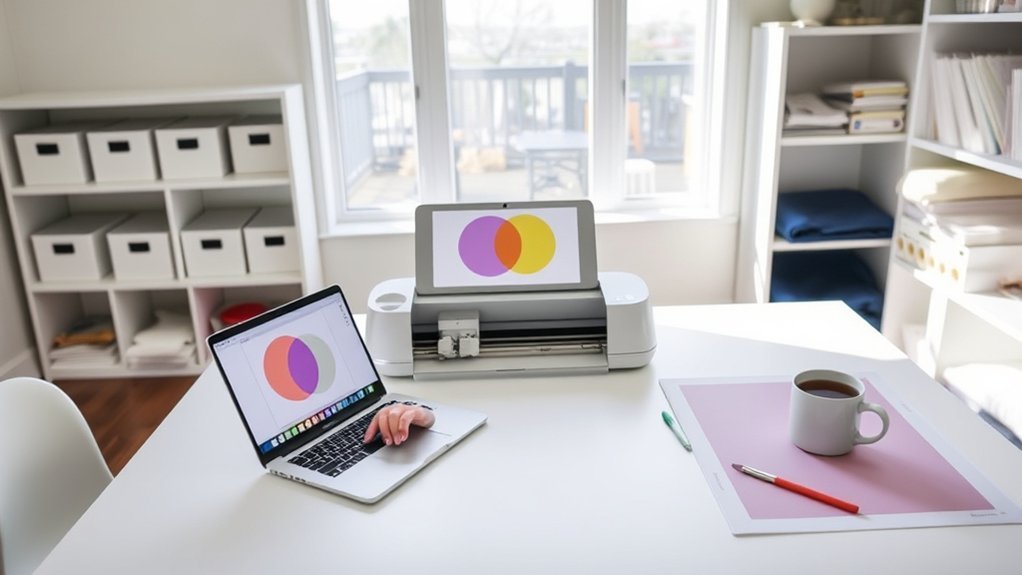
The basic Weld process takes only a few minutes. The exact menu location differs between the desktop and mobile versions of Design Space.
1. Select the Shapes or Text to Weld
Add two or more images, words, or shapes to the Canvas. Arrange them so the areas you want to connect overlap. The overlap is what allows Weld to remove the intersecting cut lines and form a continuous silhouette.
On Windows or Mac, select multiple objects by holding Shift, Ctrl, or Command as appropriate while clicking the objects or their Layers panel entries. You can also drag a selection box around them.
On iOS or Android, tap and drag a selection box around the objects or select the required layers from the Layers panel.
Before welding, check:
- All intended objects are selected.
- No unrelated background or decorative layer is selected.
- Touching areas overlap enough to form a stable connection.
- Interior openings, such as the centers of letters, remain visible.
- Each selected layer uses the intended operation.
Pro Tip: Duplicate the selected objects before welding. Move the duplicate outside the working area or hide it in the Layers panel so you retain an editable version.
2. Choose the Weld Command
Use the current platform-specific path:
- Windows or Mac: Select the layers, then choose Combine > Weld at the bottom of the Layers panel.
- iOS or Android: Select the layers, then choose Actions > Combine > Weld.
After Weld is applied, the selected objects change to a single color and appear as one new layer in the Layers panel. Where cut paths intersected, the internal intersecting paths are removed.
You can review Cricut’s current desktop and mobile instructions in its official Combine, Slice, and Weld guide.
3. Confirm and Finalize the Shape
Zoom in and inspect every joined area. Look for unwanted gaps, lost openings, thin connections, or objects that were included accidentally.
Also check the Layers panel. The design should now appear as one layer rather than several separate layers. Design Space normally changes the welded objects to a common color, so reassign the layer color if needed.
If the result is wrong, use Undo immediately. Reposition the original parts, adjust the overlap, and apply Weld again. Do not continue making many unrelated edits before reviewing the result, because that makes it harder to return to the pre-weld state.
When the outline is correct, select Make to inspect the project preview. Confirm that no unexpected internal cut lines remain and that the object appears on the correct mat or material.
When to Use Weld Versus Combine Actions
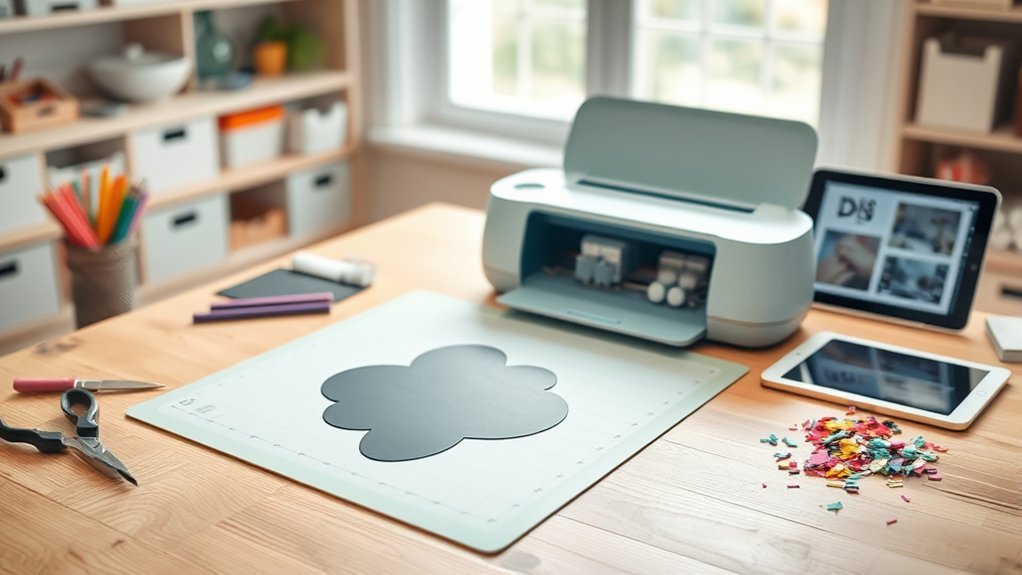
Use Weld when overlapping elements must become a permanent, continuous cut shape. Use a Combine action when you want to create or test a new shape while retaining access to its original objects.
Cricut provides four editable Combine actions:
- Unite: Joins selected shapes into one visible result while preserving the objects inside the Combine group.
- Subtract: Removes the upper selected shapes from the bottom or last layer.
- Intersect: Keeps only the areas where the selected shapes overlap.
- Exclude: Keeps the non-overlapping areas and removes the overlapping sections.
Use Weld for:
- Manually positioned script letters that must cut as one word.
- Connected cake toppers or signs.
- Continuous vinyl decals.
- Custom silhouettes built from overlapping basic shapes.
- Removing duplicate cut lines between overlapping pieces.
Use Unite or another Combine action for:
- Designs that still need spacing or proportion changes.
- Complex shapes you want to test before making permanent.
- Projects where individual objects may need to be hidden or removed.
- Reusable templates that should stay editable.
Welding Text and Script Fonts
Weld is commonly used for script text, but it is not necessary in every text project. Cricut notes that touching or overlapping characters in many kerned fonts can weld automatically during project preparation while the text remains editable on the Canvas.
If you ungroup text into individual letters and reposition them manually, the letters are no longer part of the same editable text box. Overlap the letters where they should connect, select all of them, and apply Weld before cutting.
Before welding text, confirm the spelling, font, letter spacing, curve, and size. After Weld, you can no longer edit the wording as normal text.
How Welding Affects Editability and Layer Structure
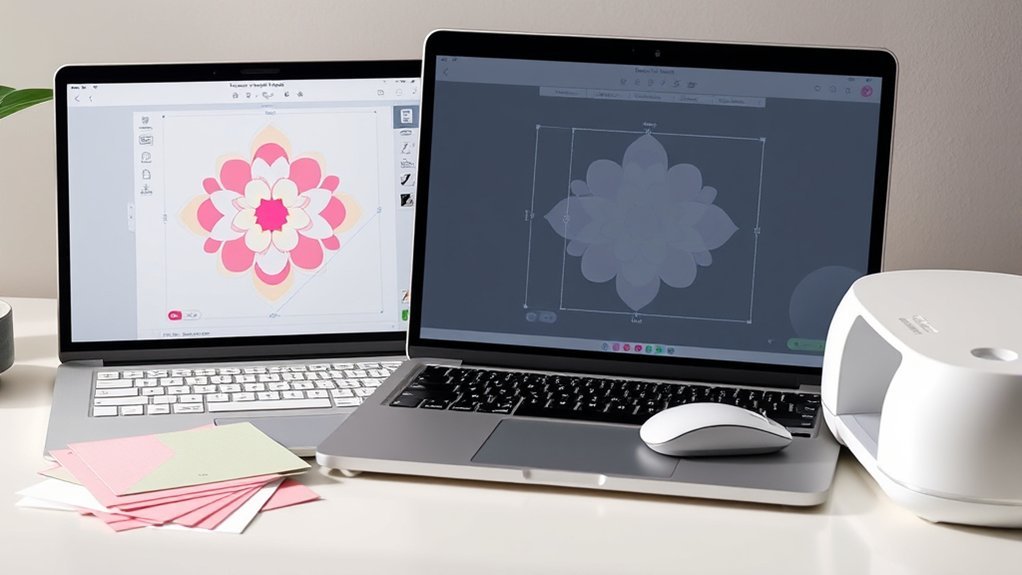
Weld replaces the selected objects with one new layer. The original parts are no longer individually available for moving, rotating, resizing, recoloring, or deleting.
Welding also affects the design in these ways:
- Intersecting cut lines disappear: Cricut keeps the resulting exterior path where shapes overlap.
- The layers share one color: The welded result is displayed as one color and one layer.
- Separate text editing is lost: Welded words are no longer normal editable text boxes.
- Individual object properties are lost: You cannot change one welded component without rebuilding or restoring a backup.
- The final path may be simpler: Removing overlapping interior lines can prevent duplicate cuts through joined areas.
Note: Undo and Unweld are not the same thing. Undo may reverse a recent Weld while that action remains in the project’s available history. Cricut does not provide a separate command that later reconstructs a welded layer into its exact original objects.
Does Weld Change Cut Time?
Weld does not automatically make every project faster or slower. Cut time depends on the length, number, and complexity of the finished paths. Removing duplicate interior lines may reduce unnecessary cutting, while a highly detailed welded outline may still take longer than a simple shape.
Check the project preview and simplify tiny or unnecessary details when performance is a concern.
Common Welding Pitfalls and How to Avoid Them
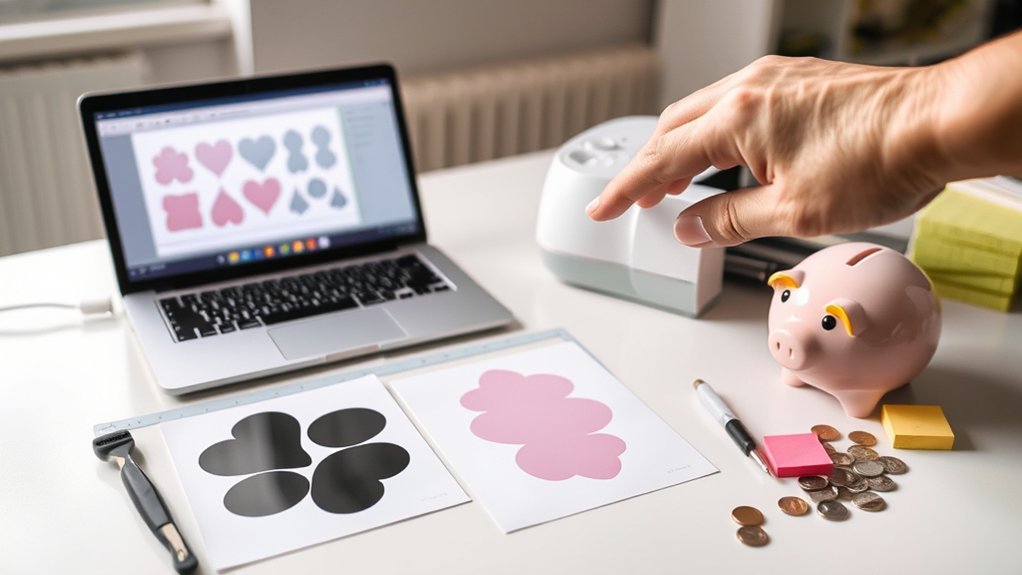
Most Weld problems come from incorrect selections, insufficient overlap, excessive overlap, or using the wrong tool for the desired result.
| Problem | Likely Cause | Fix |
|---|---|---|
| Weld is unavailable | Fewer than two usable layers are selected, or the selected object type does not support Weld. | Select two or more appropriate layers. Ungroup multilayer artwork if only certain parts should be welded. |
| Objects are not connected | The objects do not overlap enough to create a continuous path. | Move the objects closer so the intended joining areas overlap, then weld again. |
| A hole inside a letter disappears | Another object overlaps the counter or interior opening too far. | Undo, reduce the overlap, and keep the interior opening clear before welding again. |
| Unexpected objects become one layer | An entire group or an unrelated layer was selected. | Undo, ungroup the artwork, and select only the layers that should be welded. |
| The design changes color | A welded result becomes one layer with one layer color. | Select the welded layer and assign the desired color or material preview color. |
| The project becomes slow | The design contains many detailed paths or unnecessary points. | Simplify the source artwork, remove tiny details, and divide very complex work into manageable sections. |
| A warped object cannot be welded | Weld and Slice are disabled for objects with an active Warp effect. | Use an appropriate editable Combine action, such as Unite or Subtract, or revise the design before applying Warp. |
For imported SVG files, complexity can also begin before welding. Cricut states that SVG files containing more than 5,000 paths can produce an upload error. This is an SVG upload limit rather than a specific Weld-layer limit, but reducing unnecessary paths can also make complex Canvas work easier to manage.
Warning: Do not assume a saved welded layer can be separated later. Keep an unwelded duplicate inside the project or save a separate editable project version before finalizing complicated artwork.
Tips for Combining Weld With Slice and Other Tools
Weld works best as one part of a larger Design Space workflow. Use reversible tools while developing the design, then apply Weld only when the shape is ready to become permanent.
Weld and Slice
Slice divides two overlapping layers into separate pieces. It is available only when exactly two non-hidden layers are selected. Use Slice before Weld when you need to create a cutout, remove part of a shape, or divide overlapping artwork into reusable pieces.
- Place the cutting shape over the layer you want to divide.
- Select exactly those two layers.
- Choose Slice.
- Separate and delete the pieces you do not need.
- Arrange the remaining pieces and use Weld only if they should become one permanent layer.
Weld and Attach
Attach does not remove intersecting lines or turn objects into a new cut shape. It keeps separate objects in the same relative position on the cutting mat. It can also fasten Draw, Score, Foil, Engrave, or Deboss elements to the correct cut layer.
Use Attach when placement matters but the cut paths should remain separate. Use Weld when overlapping paths should actually become one shape.
Weld and Flatten
Flatten is designed for Print Then Cut. It combines selected artwork into one printable layer, allowing the machine to cut around the printable result rather than cutting every internal element separately.
Weld is primarily a cut-path construction tool. It is not a substitute for Flatten and does not directly improve Print Then Cut sensor-mark registration. For stickers and other multilayer printed designs, arrange the artwork and use Flatten.
Weld and Contour
Contour hides selected cut lines inside a single image layer. It is useful when a welded result contains an unwanted internal opening or detail that should not cut. Select the single layer, open Contour, and hide the unwanted cut line.
Weld and Offset
Offset creates a larger or smaller outline around selected text or artwork. When multiple objects are selected, the Weld Offsets option can combine their offset results into one layer. For sticker projects, Cricut recommends flattening the original artwork to the offset layer before printing.
A Reliable Workflow for Complex Designs
- Arrange the shapes and text.
- Duplicate the editable objects.
- Use Slice, Contour, or editable Combine actions to build the shape.
- Zoom in and inspect thin connections and interior openings.
- Apply Weld or Merge Layers only to the final copy.
- Check the Layers panel and project preview.
- Use Flatten instead if the project is intended for Print Then Cut.
Frequently Asked Questions
Does welding in Cricut Design Space cost money?
No. Weld is included in the free Cricut Design Space software. You may still need to pay for certain images, fonts, or Cricut Access content used in your project, but Cricut does not charge a separate fee for the Weld command.
Can welded designs be separated later?
Cricut Design Space does not have an Unweld command. You may be able to reverse a recent Weld with Undo while the action remains in the project history. After saving, closing, or continuing far beyond that action, you normally need an unwelded duplicate or must rebuild the original objects.
Does Weld increase Cricut cut time?
Not automatically. Weld removes intersecting cut paths, which can eliminate duplicate cuts inside overlapping areas. Actual cut time depends on the number, total length, and complexity of the final paths.
Does Weld affect Print Then Cut registration?
Weld changes the design’s vector paths but is not a registration or calibration tool. Use Flatten to turn multilayer artwork into a single printable Print Then Cut layer. If the machine is cutting inaccurately around printed artwork, follow Cricut’s Print Then Cut calibration and troubleshooting instructions.
Why is the Weld option grayed out?
Confirm that two or more usable layers are selected. Ungroup multilayer artwork if you only want to weld specific parts. Weld may also be unavailable for unsupported selections, including objects with an active Warp effect.
Are there file-size limits when welding many layers?
Cricut does not publish a simple maximum number of layers that can be welded. Performance depends on the device and path complexity. Cricut does state that uploaded SVG files containing more than 5,000 paths will produce an upload error, so simplify highly detailed source files when necessary.
Is Weld available on mobile and desktop?
Yes. On Windows and Mac, select the layers and choose Combine > Weld in the Layers panel. On iOS and Android, select the layers and choose Actions > Combine > Weld. The interface differs, but the permanent Weld function is available on both supported platforms.
Why did part of a letter disappear after welding?
Another letter or shape probably overlapped the letter’s interior opening. Undo the Weld, reduce or reposition the overlap, and confirm that the counter inside letters such as A, B, D, O, P, and R remains open before welding again.
Conclusion
Weld is a free and useful Cricut Design Space tool for turning overlapping text, images, or shapes into one permanent cut layer. It removes intersecting cut lines and creates a clean final silhouette, but it also removes access to the original individual objects.
Use Unite while a design is still being edited, Merge Layers only when an existing Combine group is ready to become permanent, Attach when separate paths must keep their positions, and Flatten for multilayer Print Then Cut artwork. Duplicate important layers before welding, inspect the result closely, and use Undo immediately when something does not look right.
Sources
- Cricut: Using Combine, Slice, and Weld — official behavior and desktop/mobile instructions for Weld, Combine, Merge Layers, and Slice.
- Cricut Design Space FAQ — confirms that there is no Unweld feature and explains when Undo may reverse a Weld.
- Cricut Design Space System Requirements — confirms that Design Space is free software and lists supported platforms.
- Cricut: How to Print Then Cut — explains Flatten, printable layers, calibration, and Print Then Cut workflow.
- Cricut: Working with Text — covers editable text, kerning, and automatic welding of touching kerned characters during project preparation.
- Cricut: Uploading Images into Design Space — documents SVG support and the 5,000-path upload limit.