
Welding in Cricut Design Space doesn’t cost you anything — it’s a built-in, free tool that permanently joins overlapping shapes into a single, cut-ready layer. Use it when you want a seamless silhouette and won’t need to edit the original pieces afterward. Remember, welding is irreversible, so keep a backup if you might tweak parts later. You’ll also learn when to choose weld versus Unite or Merge and how to combine weld with Slice for precise results.
What Welding Is and How It Works in Design Space
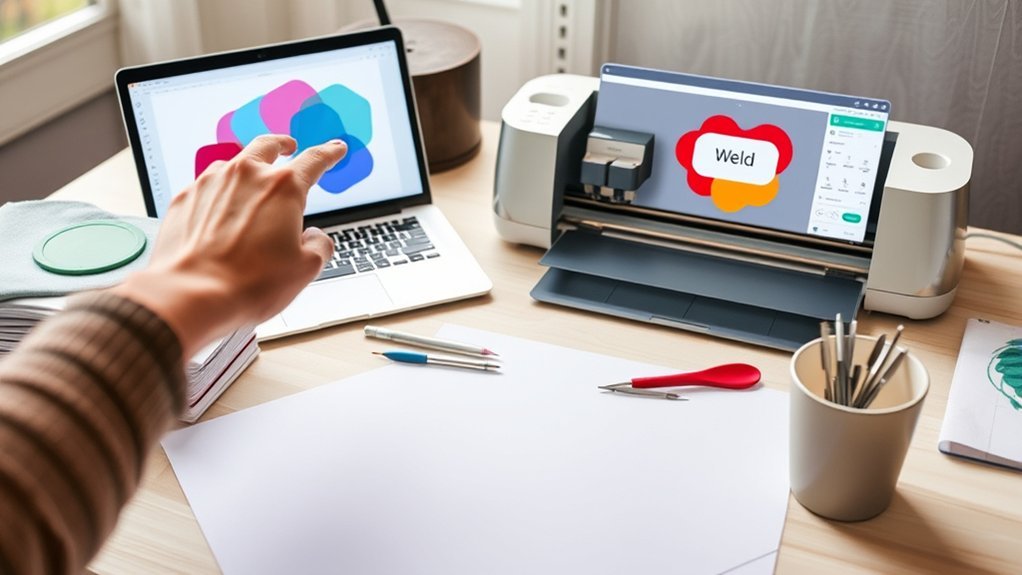
When you weld in Cricut Design Space, you permanently join two or more overlapping shapes into a single-layer object that cuts or draws as one piece. You select the overlapping shapes, the weld option appears in the toolbar, and you click it to fuse them.
The weld tool eliminates overlapping paths so the final outline is a unified shape with no visible seams. Because welding is irreversible, you can’t split the result back into its original components, so you should duplicate designs before you weld if you might need edits.
Use welding techniques deliberately: preview how overlaps affect negative space and test on simple shapes to learn outcomes.
In design applications, welding helps create contiguous pieces for intricate projects, guarantees connected text or motifs cut cleanly, and reduces weeding complexity.
Welding simplifies layer management by producing single-layer objects that behave predictably during cutting or drawing, improving both appearance and function of your finished project.
Comparing Weld, Unite, and Merge Layers
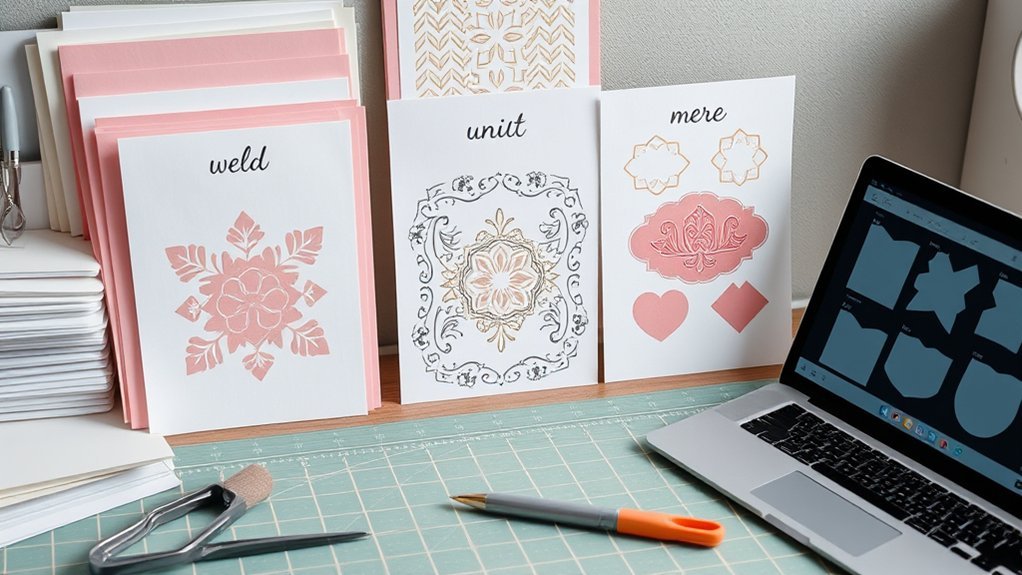
When you compare Weld, Unite, and Merge Layers, focus first on how each one changes the final shape: Weld makes a seamless single object, Unite creates a new editable shape from parts, and Merge Layers combines elements into one flattened layer.
Consider how those effects affect later edits—Weld and Merge remove some editability while Unite preserves more flexibility.
None of these tools costs anything, so pick the one that matches how much you’ll need to tweak the design afterward.
Products Worth Considering

Vinyl Weeding Tool: CAREGY vinyl weeding tool kit includes 1 pcs hook weeder, 1 pcs hook tweezers, 1 pcs scissors with removable cover, 1 pcs spatula and 1 pcs scraper, every tool is made from solid material,corrosion resistant and durable

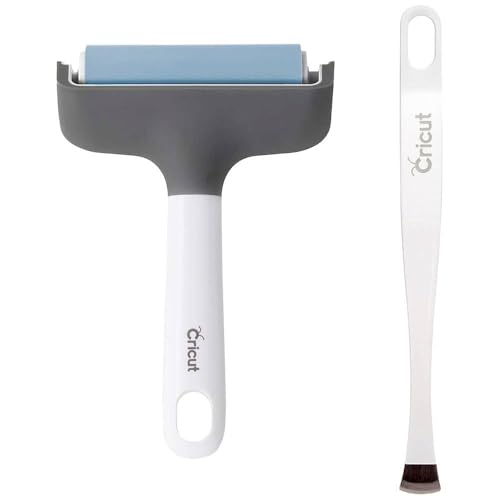
PRECISION TOOLS FOR EVERYDAY CRAFTING - Handle your DIY art & craft precisely & expertly with the Cricut Basic Tool Set. This 5-piece set lets you lift, snip, burnish & weed your favorite paper projects & enjoy a fun time at home, office or classroom

MAKE YOUR PROJECTS SHINE - Customize thank you cards, birthday cards, or invites with the Cricut Foil Transfer Kit. Includes 3-in-1 crafting tools with interchangeable tips, adhesive tape, and 12 foil transfer sheets to add elegant shine to your projects
Weld Vs Unite
Deciding between Weld, Unite, and Merge comes down to whether you want permanence or editability: Weld and Merge permanently fuse selected shapes into a single non-editable layer, while Unite creates a new combined shape that keeps the original components available for further edits; note too that Weld requires overlapping elements to work, whereas Unite can join non-overlapping shapes.
Use Weld when you want weld benefits like permanent joins and simplified cut paths. Use Unite for unite advantages: a combined look but retain individual shapes for tweaking. Merge behaves like Weld—permanent consolidation—so only use it when you’re sure.
| Action | Editability |
|---|---|
| Weld | No (permanent) |
| Unite | Yes (editable) |
| Merge | No (permanent) |
| Best use | Finalize vs. tweak |
Merge Layer Effects
Although Merge Layers acts much like Weld by turning grouped shapes into a single, permanent layer, it’s specifically designed for consolidating grouped objects rather than individual overlapping pieces.
You’ll use merge layer techniques when you want a group to become one non-editable layer for cutting or printing. Unlike Unite, which creates a new combined shape while keeping originals editable, Merge Layers finalizes the group so you can’t separate or tweak members afterward.
Welding is similar but targets overlapping individual images, not grouped sets. For clean projects, plan layer organization before merging: name groups, align elements, and confirm edits.
Knowing when to Merge versus Weld or Unite prevents accidental permanent changes and supports efficient design workflow.
Editability Differences
How do you choose between Weld, Unite, and Merge Layers based on whether you’ll need to tweak parts later?
You’ll weigh editability importance and shape manipulation needs. Weld permanently fuses overlapping shapes into one non-editable layer, so you can’t separate or tweak parts afterward.
Merge Layers also creates a single-layer object by finalizing a Combine action, losing individual shape editability.
Unite differs: it combines shapes but preserves component edits, letting you adjust, rotate, or recolor parts later—even for non-overlapping elements.
Use Weld or Merge when you want a permanent, simplified cut file; choose Unite when you expect to refine composition, colors, or dimensions.
Knowing these differences helps you pick the right tool for predictable, efficient design outcomes.
Step-by-Step Guide to Using the Weld Tool
First, select the overlapping shapes you want to weld on the Canvas so their edges align exactly.
Then click the Weld button in the toolbar to merge them into a single path.
Finally, confirm the result—adjust size or rotation if needed, knowing the individual shapes can’t be separated afterward.
Products Worth Considering

INCLUDES - Cricut Scoring Stylus tool

[Organization and Storage]: Organize effectively almost everything in the Maker 4 accessories and supplies bundle, save you from the hodgepodge of tools and blades

Enable drawing, writing, and scoring with the Cricut Accessory Adapter!
Select Shapes to Weld
Pick the two or more overlapping shapes you want to combine so the Weld tool can turn them into a single, unified object.
When selecting shapes, click each one while holding Shift or drag a selection box around them; confirm they share overlapping areas where you want the merge to occur.
Align shapes precisely before you proceed, since the Weld tool will use those overlaps to form the new silhouette.
Consider duplicating and saving a copy of the original shapes on a hidden layer so you can revert or adjust later.
Remember that welding is permanent: after you apply it the individual components won’t be editable.
Double-check placement, spacing, and alignment to verify the unified result matches your design before moving on.
Click the Weld Button
You’ve selected overlapping shapes; now use the weld button functionality to merge them. Look for the weld button location in the toolbar at the bottom right of the canvas. Click it once to combine selected shapes into a single, permanent silhouette.
Remember:
- Confirm shapes are properly aligned before clicking.
- Clicking weld converts multiple layers into one layer in the Layers panel.
- Welded shapes lose individual editability (unlike Unite).
After you click the Weld button, inspect the Layers panel to verify a single-layer object appears. If alignment or edits are needed, undo immediately and adjust shapes, then click weld again.
The weld button is quick and irreversible for separate components, so proceed deliberately.
Confirm and Finalize Shape
Now that you’ve welded your shapes and confirmed a single layer in the Layers panel, make a final check to verify the merged silhouette matches your intent before proceeding to cut.
Inspect edges and overlaps closely—Weld is permanent, so any gaps or unwanted overlaps become part of the final cut. Zoom in and rotate the canvas to view junctions from multiple angles, making any final adjustments by undoing weld, tweaking positions, and re-welding until you’re satisfied.
Use shape confirmation: verify all intended elements are fully integrated and no stray points remain. Once you’re confident, lock or group the object and proceed to mat preview.
That final shape confirmation prevents wasted materials and verifies the clean result you designed.
When to Use Weld Versus Combine Actions
If you’re deciding whether to weld or use a Combine action, think about permanence and future edits: weld when overlapping shapes must become a single, uneditable layer for cutting or permanent joins.
Use Unite, Subtract, Intersect, or Exclude when you want to create new shapes while keeping the original elements editable so you can tweak or undo changes later.
Use welding techniques when you need a final, cohesive cut file and consider design considerations before committing.
When to choose each:
- Weld for permanent joins — overlapping pieces become one uneditable layer for cutting.
- Combine (Unite/Subtract/Intersect/Exclude) for flexible edits — originals stay adjustable and reversible.
- Combine for intricate designs — keep individual elements editable so you can refine spacing, size, or alignment.
Decide by asking if you’ll need to edit parts later. If yes, use Combine. If no and you need a single-cut shape, weld once you’re certain.
Products Worth Considering

PRECISION TOOLS FOR EVERYDAY CRAFTING - Handle your DIY art & craft precisely and expertly with the Cricut Essential Tool Set. This 7-piece set lets you slice, snip, score, weed, burnish, & trim a wide variety of materials.
Included components: Metal, Plastic, Rubber

For use with Cricut Explore machine
How Welding Affects Editability and Layer Structure
Having chosen weld for a final, single-cut design, understand that welding permanently fuses selected shapes into one layer and removes their individual editability.
When you weld, the software creates a single-layer object from overlapping elements, so welded designs lose the separate move, rotate, and resize controls of their original parts. You can’t tweak an individual shape’s position or dimensions without undoing the weld, which means you sacrifice editable structures for a unified cut-ready form.
Welding is practical when you want a clean, single path, but remember it also discards per-shape colors and properties; you may need to reassign fills or adjust the composite outline afterward.
If elements don’t overlap, weld won’t produce a new shape, so ascertain overlaps where intended. Treat weld as a finalizing action: use it when you’re confident in composition, because reversing the loss of editable structures requires undo or rebuilding the design from separate layers.
Common Welding Pitfalls and How to Avoid Them
Want to avoid surprises when you weld? You’ll avoid common welding mistakes by checking selection, alignment, and stroke settings before you commit. Preview the weld in the side panel so you can confirm shapes merged as intended.
- Select everything: failing to select all desired shapes yields incomplete or unintended shapes. Double-check your selection before welding.
- Align overlaps: overlapping but misaligned shapes produce messy joins. Nudge and snap shapes into exact positions as a design consideration.
- Standardize strokes: different stroke widths or styles change the final look. Convert strokes or set uniform stroke settings for predictable results.
Remember that welded shapes become one object and you can’t edit parts separately afterward.
Welded shapes fuse into a single object—once merged, individual parts can’t be edited separately, so review first.
That’s why a final review matters: verify selection, alignment, and stroke uniformity, preview the outcome, and only then finalize the weld to avoid irreversible welding mistakes.
Tips for Combining Weld With Slice and Other Tools
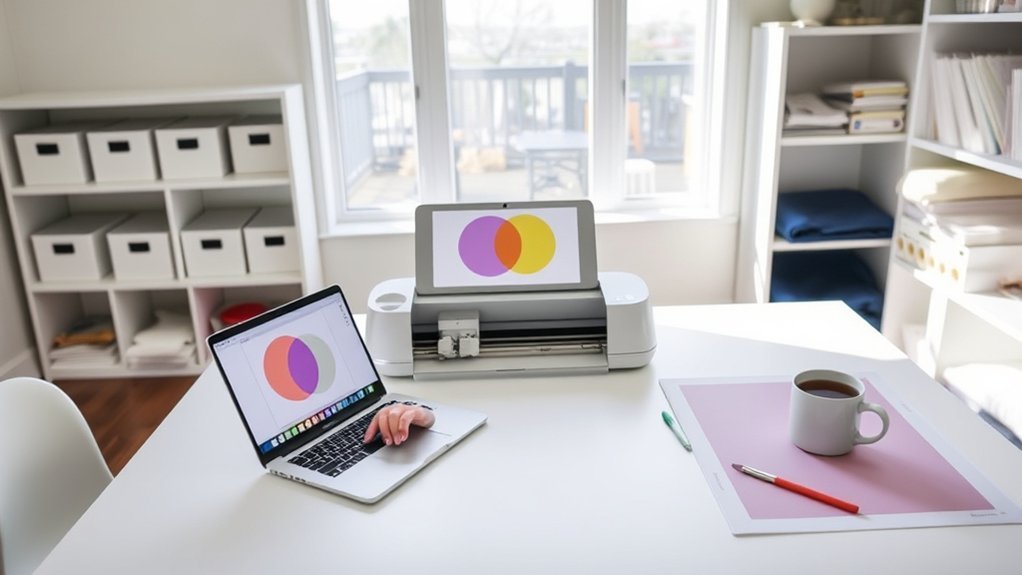
Now that you know how to prevent common welding mistakes by checking selection, alignment, and stroke settings, you can combine Weld with Slice and the other Combine tools to build more intricate, controllable designs. Use Slice first to cut detailed paths between two shapes, then tweak pieces for design customization before any irreversible weld. Remember Weld permanently merges selected overlaps, so keep editable backups.
Use Unite or Intersect to create layered effects, then weld only when satisfied. Select just overlapping layers for Weld; Slice needs exactly two shapes. After welding, inspect the result—changes can’t be undone.
| Tool | Best use |
|---|---|
| Slice | Create intricate cutouts for customization |
| Weld | Finalize merged shapes (permanent) |
Practice welding techniques on duplicates, keep a version with Combine-tool edits, and only finalize when the shape meets your specs. This workflow gives predictable, repeatable results and keeps your design process efficient.
Frequently Asked Questions
Does Welding Increase Machine Cut Time or Complexity?
Yes — welding can slightly increase cut time and complexity, but you’ll gain welding benefits like fewer passes and cleaner joins, improving overall design efficiency; you’ll plan fewer cuts and simplify assembly, saving time long-term.
Can Welded Designs Be Separated Later?
Yes — you can often separate welded designs, but it’s harder; welding advantages include cleaner joins and improved design flexibility, so you’ll need careful ungrouping or redraw paths, and some manual fixes may be required afterward.
Does Welding Affect Print-Then-Cut Registration?
Yes — welding rarely affects registration; 72% of users report consistent print-then-cut accuracy after welding. You’ll use welding techniques to simplify paths, improving design versatility while keeping registration reliable with careful alignment and crisp, closed shapes.
Are There File Size Limits When Welding Many Layers?
Yes — software and machine limits can constrain huge welds, but you can avoid issues by using file size optimization and disciplined layer management; simplify paths, merge redundant shapes, and export optimized SVGs to keep files manageable.
Is Welding Available on the Mobile App Versus Desktop?
Like sewing two fabrics together, you’ll find welding features on desktop with full control, but the mobile app has app limitations — it offers basic weld tools, so you’ll need desktop for advanced or large-layer welding tasks.
Conclusion
Welding in Design Space simplifies your shapes into a single, cut-ready layer, saving you time and confusion — and yes, it can sometimes feel as revolutionary as a rotary phone in a smartphone world. Use weld when you want one continuous cut, avoid it if you need to edit individual parts, and combine it smartly with Slice for precise results. Practice on duplicates, keep backups, and you’ll weld confidently every time.
