
To figure out TIG welding costs step by step, start with the base metals, joint geometry, and weld length. Then pick your amperage, travel speed, and filler type so you can work out the weld volume and filler weight. Turn the weld length and travel speed into arc time, add 20–30% for prep and finishing to get total labor hours, and multiply by the welder’s hourly rate. Finally add costs for filler rods, shielding gas consumption, electrode wear, equipment depreciation, utilities, and a 10–20% contingency. Follow the full method for worked examples and templates.
Quick Answer
Calculating TIG welding costs is straightforward once you break it down. Here’s the quick rundown:
- Determine base metals, joint details, and weld length to find weld volume and filler needs.
- Calculate arc time from length and travel speed, then add 20–30% for prep and finishing.
- Multiply total hours by the welder’s rate ($20–$50 per hour).
- Add costs for filler, gas, electrodes, equipment, utilities, and 10–20% contingency.
Understanding TIG Welding Cost Components
When you estimate TIG welding costs, break the job into five clear parts: labor (driven by welder skill and task complexity), materials (base metals, filler rods, and shielding gas), equipment (purchase, lease, depreciation, and maintenance of TIG machines), overhead (workspace, utilities, and administrative support), and ancillary work (surface preparation and post-weld inspection or finishing).
You set labor costs using hourly rates that match the welder’s skill level and the job’s difficulty. For materials, pull the latest prices for base metals, filler rods, and shielding gas while keeping an eye on market swings.
Equipment costs cover buying or renting the TIG machine, its depreciation schedule, and regular maintenance. Overhead gets allocated per job based on the workspace footprint and utility use.
Account for equipment acquisition, rental options, depreciation, maintenance, and allocate overhead by workspace footprint and utilities.
Finally, include ancillary operations like cleaning and inspection. This breakdown gives you a solid base for any TIG welding cost analysis.
Defining Scope and Selecting TIG Parameters
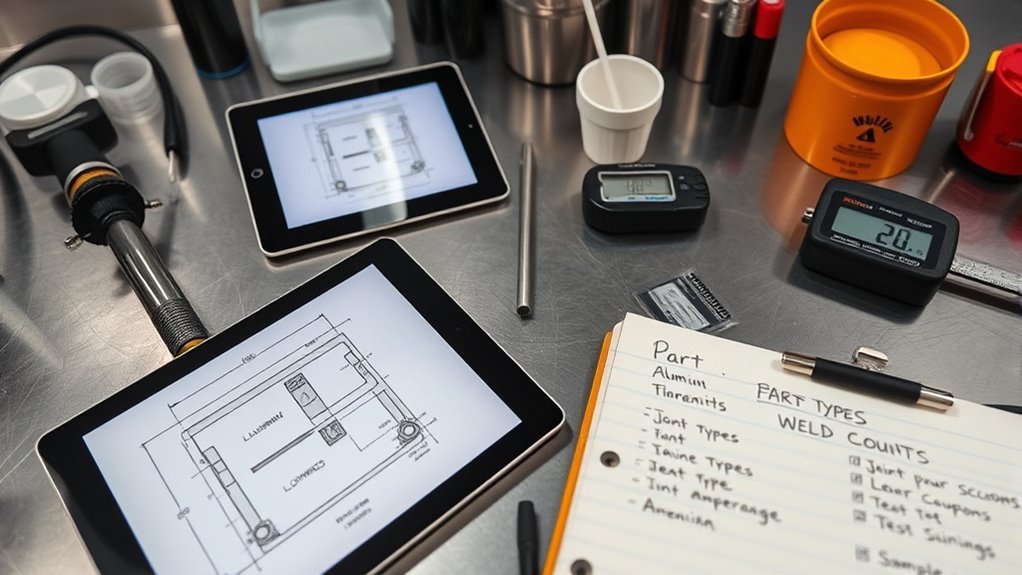
Once you have labor, materials, equipment, and overhead figured out, define the weld scope and choose the TIG parameters that drive the actual costs.
Identify the base metals and the right filler; different alloys need specific filler chemistry and shielding gas. Specify the joint preparation—single or double-V, root gap, bevel angle—and measure the joint length so you can calculate filler volume and weight using material density.
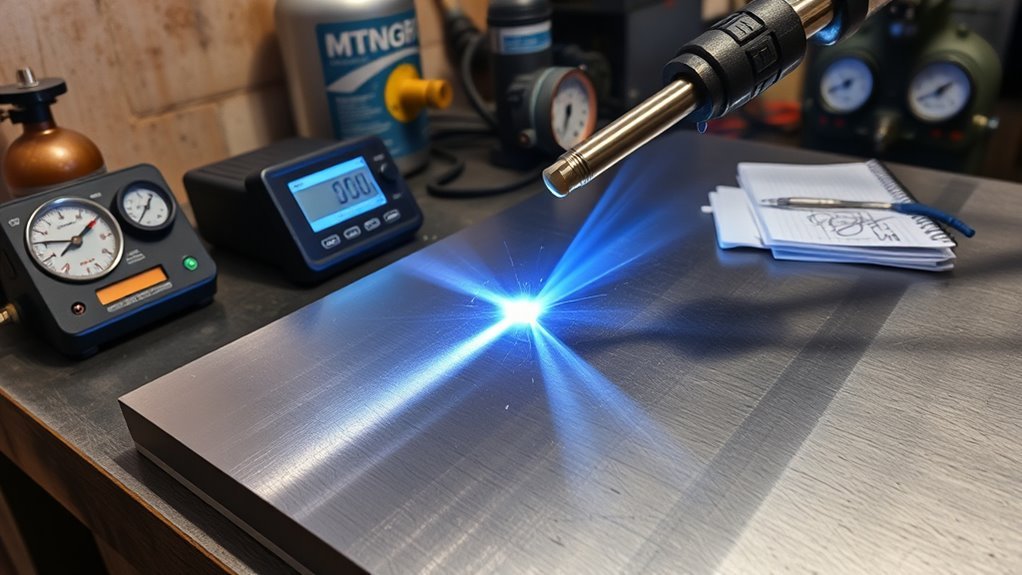
Set amperage, travel speed, and shielding gas flow to hit your penetration targets. For tungsten selection, pick the electrode type and diameter to match the current and metal thickness, and note the expected electrode life and replacement rate.
Document everything clearly. That way consumable usage, equipment duty cycles, and shielding-gas consumption feed straight into your cost model.
Products Worth Considering

ER4043 TIG WELDING ROD: ER4043 is a 5% silicon -containing aluminum and silicon alloy welding rod. It has high silicon content, good liquidity, and strong heat resistance

ER4043 TIG WELDING ROD: This TIG welding rod has 5% added silicon, This can improve the liquidity of the melt pool.

Calculating Labor Time and Skilled Welder Rates

Accurate labor estimates start with weld length, joint complexity, and travel speed. First calculate arc time by dividing the measured weld length by the welder’s travel speed.
Then add allowances for joint preparation and post-weld finishing—typically 20–30% extra—and adjust for the welder’s efficiency or duty cycle to reach total productive hours.
Next, assess welding complexity to decide the required skill level and whether you need multiple operators at once. Convert those productive hours to labor cost by multiplying by the right hourly rate. Skilled TIG welder rates typically range $20–$50/hr, varying with welder experience and region (see U.S. Bureau of Labor Statistics).
Finally, include any shift overlaps or supervision time and sum everything for the project duration. That gives you a clear labor estimate.
Products Worth Considering

Richard Finch, Welder's Handbook: A Complete Guide to MIG, TIG, Arc & Oxyacetylene Welding, "Completely Revised and Updated Edition!" paperback

PATENT PENDING - The Perfect Welder’s Tool: Looking for a way of keeping your fingers protected without having to compromise on your welding quality? Would you like to maximize your welding performance and increase accuracy? The Clarke Brothers wire welder is the ultimate tool!

Precision Feeding: Designed for TIG welding, ensuring accurate and consistent wire feed.
Estimating Materials, Gas, and Consumables
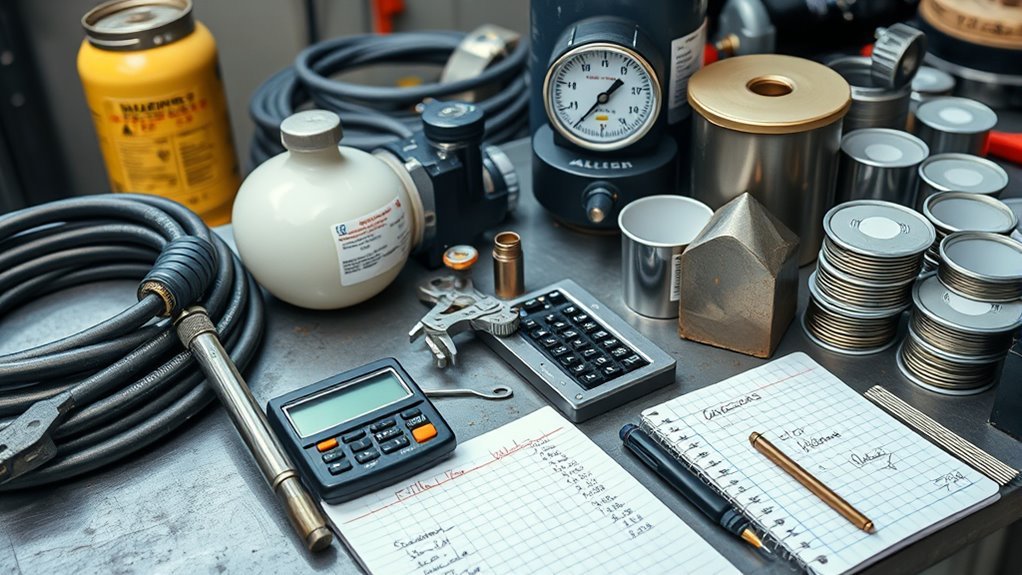
TIG welding quality depends on technique, but accurate cost estimates begin with quantifying materials, gas, and consumables for the exact joint geometry and process parameters.
Calculate base-metal and filler-metal quantities from joint dimensions and weld volume, then apply a reasonable material-loss percentage to cover waste and mistakes.
For shielding gas, use typical consumption (12–15 L/min per Linde Gas) and cylinder capacity (~10,000 L) to turn welding hours into cylinder usage. This usually works out to roughly 10–12 hours per cylinder under normal conditions.
Get supplier quotes for filler rods and tungsten electrodes, noting price differences by alloy. Follow good electrode care and handling to keep consumable turnover low.
List the totals for metal, gas, and consumables separately so you can update the estimate quickly when parameters change.
Products Worth Considering
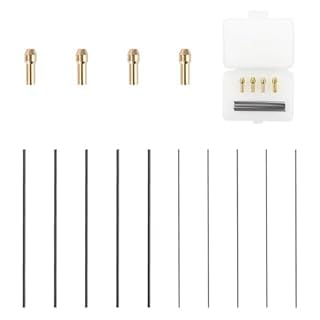
【Precision Welding Essentials】This Tig welding set includes high-purity tungsten steel rods and a wedge collet adapter, designed for precise spot welding in jewelry making and fine metalworking, ensuring clean and accurate welds.

Gray - 2% Ceriated, 1/16"×7" (1.6 mm × 175 mm) × 10pack
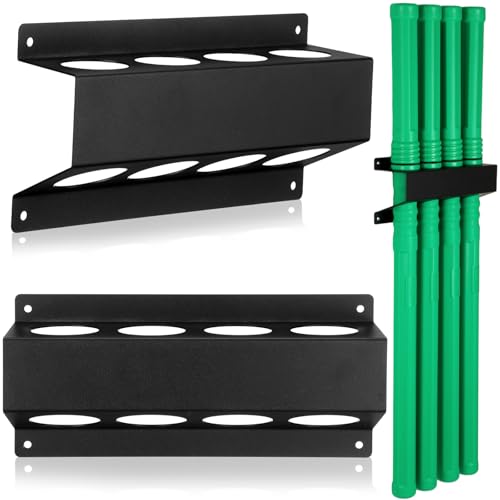
Welding Rod Storage Set: you will receive 1 piece welding rod rack with 4 slots and 4 pieces 40‘' filler rod storage canisters; This welding rod rack set specifically designed to hold and organize your TIG rods, making it the nice fabrication tool for DIY enthusiasts alike
Adding Equipment, Overhead, and Contingency
After materials and consumables, add equipment costs, overhead, and contingency so your estimate shows the real project expense. Include depreciation or rental fees for TIG machines, scheduled maintenance, and any extra gear such as chillers, wire feeders, fixturing, and gas regulators. Calculate their cost per welding hour.
Measure power consumption per hour and note scheduled maintenance intervals. Apply overhead expenses (utilities, rent, admin, safety gear) as 15–30% of the subtotal. Add a 10–20% contingency for unexpected issues. Use the table below to organize inputs and arrive at a per-hour rate.
| Item | Rate basis | Notes |
|---|---|---|
| Machines | $/hour | depreciation + maintenance |
| Utilities | % or $/hour | power consumption |
| Contingency | % | 10–20% of total |
Products Worth Considering

TIG & ARC Welding in One Machine: Supports Gas TIG welding with argon for clean, precise welds and ARC (Stick) welding for quick repairs and thicker materials.

Large LED Display: Features a large LED screen for enhanced visibility and a clear display of welding parameters and settings. Its intuitive interface ensures effortless operation, enabling precise welding of diverse metals

MULTI PROCESS: Experience the convenience of a high-quality, budget-friendly 3-in-1 welding machine that masterfully handles Gasless Flux Core MIG/Stick/Lift TIG(additional 10-25 lift TIG torch required). This unit caters to a wide range of welding applications and meets your various welding needs.
Frequently Asked Questions
Can TIG Welding Costs Be Reduced by Outsourcing to a Different Region?
Yes—you can lower TIG welding costs by outsourcing to another region. Just weigh the benefits of regional pricing against quality control, logistics, and compliance, then add up labor, material, transport, and risk to make a clear decision.
How Do Warranty or Liability Considerations Affect Final TIG Pricing?
Claims often trace back to fabrication defects, so factor warranty impact into your unit pricing, adjust for extra liability coverage premiums, document the limits, and set contingency rates carefully. That way your price covers any potential claim exposure.
Do Surface Finish or Cosmetic Requirements Change Cost Significantly?
Yes—surface finish and looks can raise costs a lot. You’ll need extra grinding, polishing, or filler work, which adds labor hours, inspection time, and consumables. Quantify those extra steps to update your price accurately.
Can Automation or Robots Ever Be Cheaper Than Manual TIG Here?
Yes—robots can become cheaper over the long run. Compare capital cost, maintenance, throughput, cycle-time savings, and quality improvements against manual TIG labor to see when automation makes sense.
How Do Currency Fluctuations Impact International Material Cost Estimates?
Currency swings can change quoted prices overnight. Adjust your material buffers, consider forward contracts or hedging, and recalculate landed costs so your margins and delivery schedules stay on track.
Conclusion
You now have a clear framework to price TIG jobs: break costs into labor, materials, gas, consumables, equipment, overhead, and contingency, then calculate using your chosen parameters and scope. Skilled TIG welders often charge 30–50% more than MIG welders; industry surveys show TIG rates average about 45% higher due to skill and time intensity. Use precise time estimates and part-specific consumable counts to keep every quote accurate and easy to defend.
