
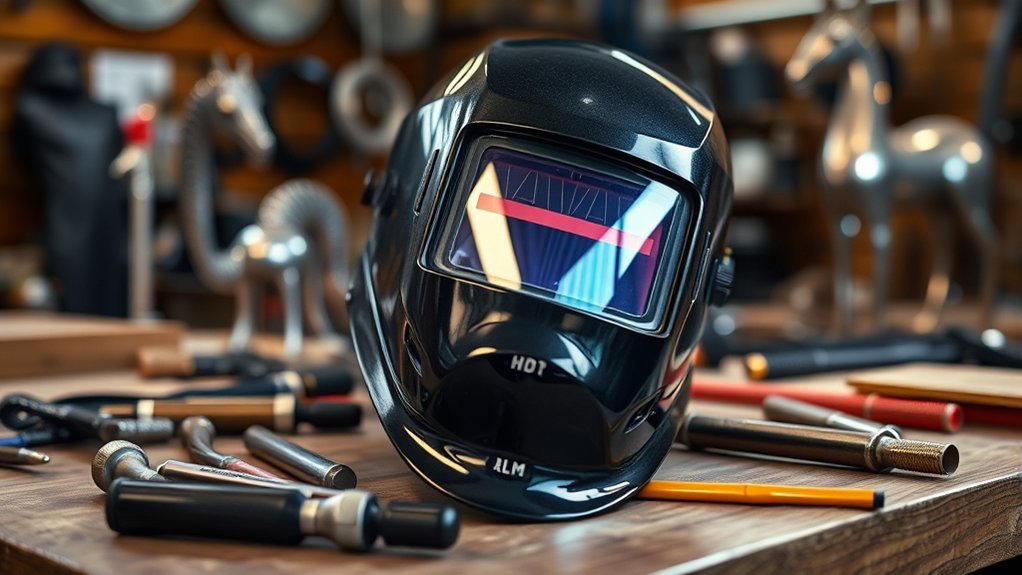
A good welding helmet should protect your eyes and face, fit comfortably, and match the welding processes you use. For most buyers, a quality standalone helmet costs far less than the article’s original $2,899 upper figure because that price belongs to a complete powered air-purifying respirator system, not a standard helmet. The right budget depends on whether you need a passive lens, auto-darkening controls, professional optics, or integrated respiratory protection.
Quick Answer
A good standalone welding helmet usually costs about $100 to $500. Passive helmets often cost $50 to $100, entry-level auto-darkening models about $100 to $200, and professional helmets about $250 to $700. PAPR welding systems are separate respiratory-protection products and commonly cost roughly $1,800 to $2,500 or more.
Key Takeaways
- A dependable passive helmet can cost under $100, while a useful auto-darkening helmet usually starts near $100.
- Most hobbyists and occasional welders can find a good fit in the $100 to $250 range.
- Professional helmets cost more because of better optics, larger viewing areas, improved headgear, more arc sensors, and stronger support for low-amperage or out-of-position work.
- A $2,000-plus PAPR system combines a welding helmet with powered respiratory protection, so it should not be compared directly with a standalone helmet.
- Correct shade selection, impact protection, condition, and fit matter more than brand name or price alone.
Warning: A welding helmet is secondary eye and face protection. Wear appropriate safety glasses or goggles underneath it, select a filter shade for the process and amperage, and stop welding immediately if an auto-darkening filter fails to darken.
Welding Helmet Price Ranges at a Glance
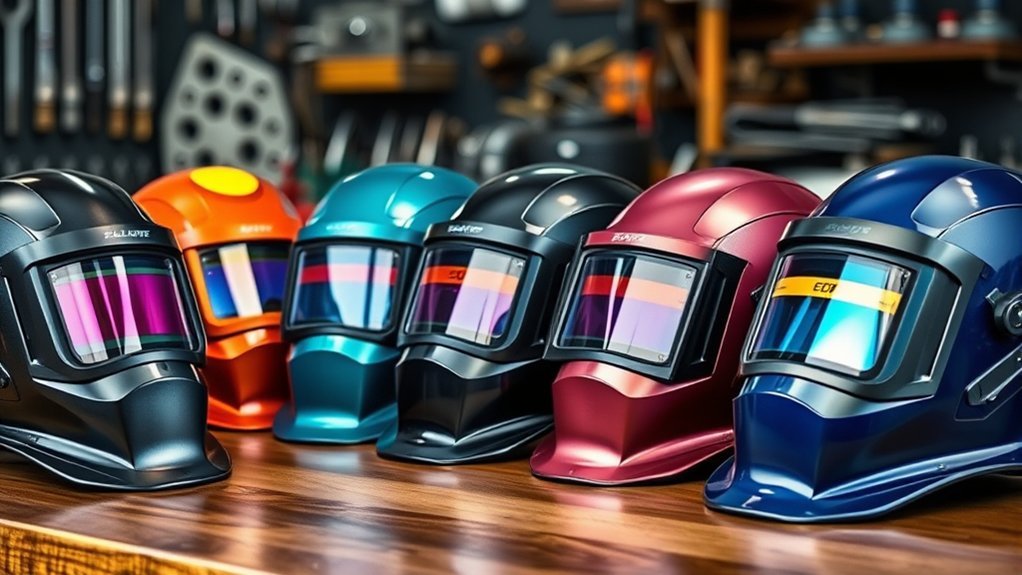
Welding helmet prices make more sense when you separate the main product types. A low-cost passive helmet, a professional auto-darkening helmet, and a PAPR system solve different problems and should not share one unexplained price range.
| Helmet type | Typical current range | Best suited to |
|---|---|---|
| Passive fixed-shade helmet | $50 to $100 | One main process, steady shop work, tight budgets |
| Entry-level auto-darkening helmet | $100 to $200 | Beginners, DIY work, occasional MIG or stick welding |
| Mid-range auto-darkening helmet | $200 to $350 | Frequent welding, multiple processes, better comfort |
| Premium auto-darkening helmet | $350 to $700 | Professional use, low-amp TIG, large viewing area, advanced optics |
| Welding helmet with PAPR | $1,800 to $2,500+ | Work requiring powered respiratory protection after a hazard assessment |
These are U.S. retail ranges observed on July 28, 2026, not fixed prices. Sales, graphics, included accessories, replacement-lens packages, and manufacturer rebates can change the amount you pay.
The largest price jump occurs when a helmet becomes part of a powered respiratory-protection system, not simply when its lens becomes clearer.

Aegend Swim Goggles are designed to help swimmers enjoy a clear, comfortable, and secure fit in the pool. Built for adults and youth, they aim to reduce leaking and provide full eye protection for training, recreation, and water sports. Their versatile design makes them a practical choice for men and women looking for dependable swim eyewear.

This hardcover cookbook offers fast, approachable recipes designed for busy days and low-energy nights. Caroline Chambers focuses on simple, flavorful meals that help you get dinner on the table without overthinking it. It's a practical pick for home cooks who want quick weeknight inspiration and minimal-fuss cooking.

The DeLonghi Water Filter helps reduce scale buildup and unwanted impurities that can affect your coffee machine's performance and taste. Its active carbon and ion-exchange technology helps improve brew consistency, maintain flavor, and reduce the need for frequent descaling. Designed as an OEM authorized replacement part, it fits select DeLonghi models for reliable everyday maintenance.
What Determines Welding Helmet Cost?
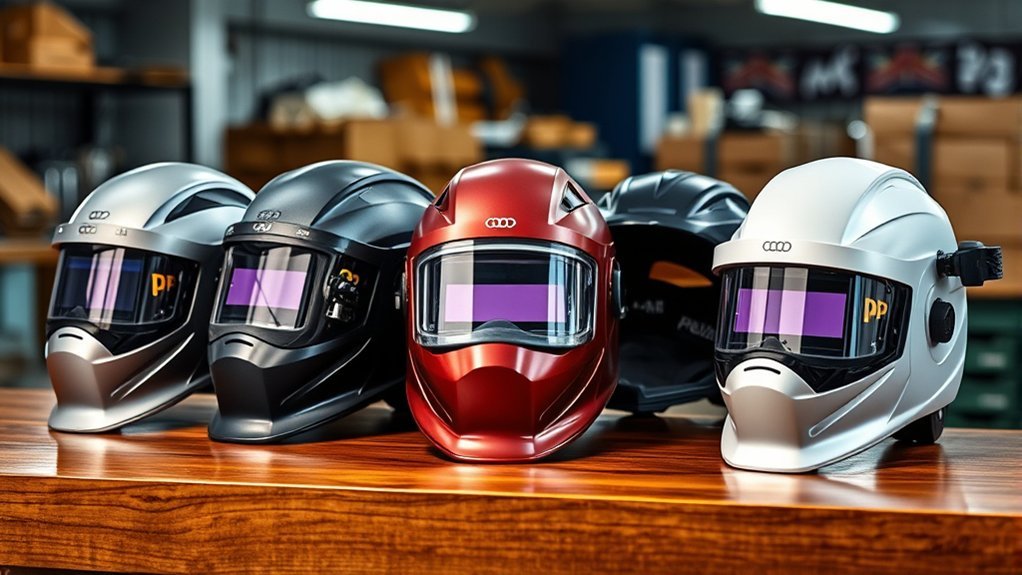
Brand reputation affects price, but the hardware and support behind the name matter more. The biggest cost drivers are lens type, optical performance, viewing area, sensor coverage, headgear, process modes, accessories, and respiratory integration.
| Factor | How it affects price | What to check |
|---|---|---|
| Passive or auto-darkening lens | Auto-darkening electronics raise cost | Shade range, controls, battery type, warranty |
| Optical quality | Clearer, more consistent filters usually cost more | EN 379 optical class, color rendering, clarity at angles |
| Viewing area | Larger filters and panoramic designs add cost | Useful field of view, shell balance, replacement-cover cost |
| Arc sensors | More sensors can improve detection when one is blocked | Low-amp TIG rating and out-of-position performance |
| Headgear and shell | Better balance and adjustability increase cost | Weight distribution, neck coverage, hard-hat compatibility |
| Accessories and maintenance | Consumables raise lifetime cost | Cover lenses, batteries, sweatbands, headgear, ADF availability |
The familiar 1/1/1/1 rating is an EN 379 optical-class system. It describes optical quality, light diffusion, shade consistency, and angle dependence. It is useful for comparing auto-darkening filters, but it does not replace U.S. impact-protection requirements or correct shade selection. Miller’s welding helmet selection guide also recommends considering light state, sensor count, controls, and the work position.
Pro Tip: Do not pay for the largest viewing area automatically. A smaller helmet that balances well and seals out backlight may feel better during a full shift than a heavier panoramic model.
Budget-Friendly Welding Helmets
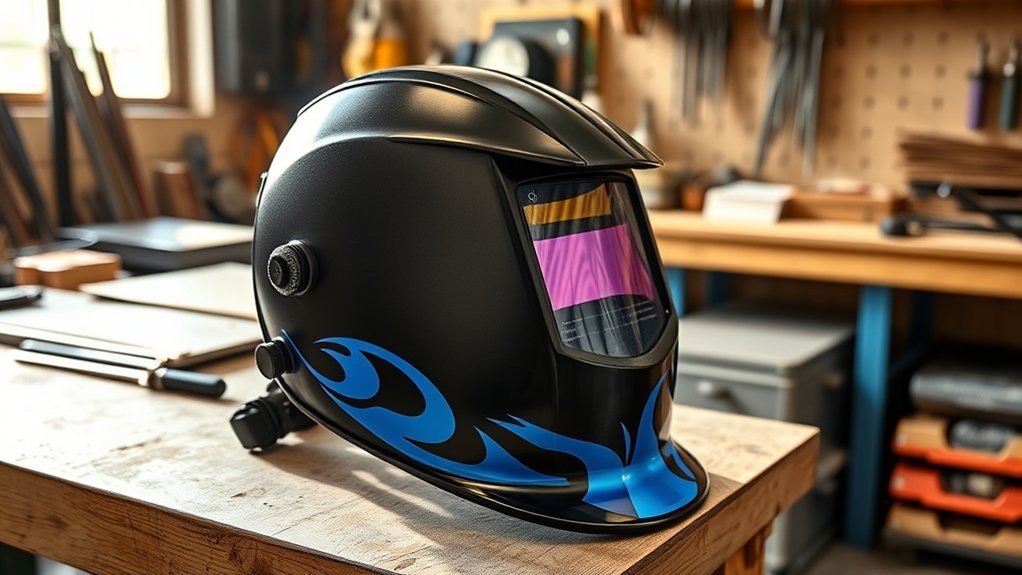
A budget-friendly helmet can provide appropriate protection when it is correctly rated, undamaged, fitted well, and used with the correct shade. Price alone never guarantees safety. Current passive examples from established brands commonly sell for roughly $50 to $100, while entry auto-darkening helmets from major manufacturers often begin around $140.
Recent retail examples checked on July 28, 2026 included the Miller MP-10 passive helmet near $54, the Jackson WH10 HSL2 passive helmet near $60, the Lincoln Viking Industrial Passive helmet near $88, and the Miller Classic Series auto-darkening helmet near $140. These examples show why the old $44.94 starting point was too precise and why a practical budget range is more useful.
Under $100, a passive fixed-shade helmet is usually the safest value from a recognized manufacturer. Low-cost auto-darkening models also exist, but check the compliance marking, sensor performance, warranty, replacement cover lenses, and return policy before relying on one for regular work.
Note: A passive helmet is not outdated. It can be dependable, light, inexpensive, and easy to maintain when one fixed shade suits the work. Its main drawback is that you must lift or nod the hood between welds.
Mid-Range Welding Helmets
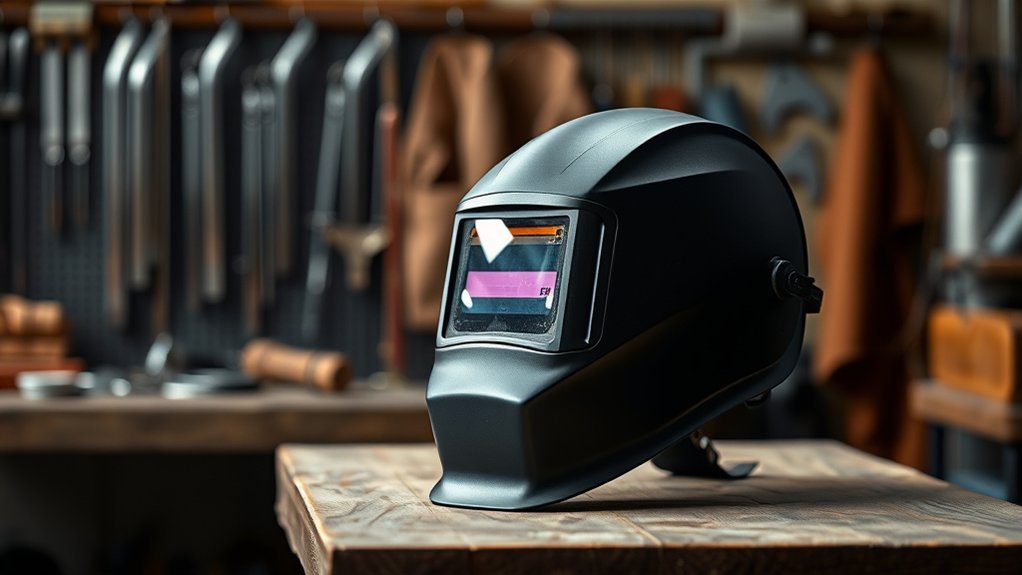
Mid-range welding helmets now sit closer to $200 to $350 than the article’s former $73.95 to $139.95 range. Most helmets in the old range were passive or entry-level products, not feature-rich mid-range auto-darkening models.
In this category, expect a variable-shade auto-darkening filter, sensitivity and delay controls, two to four arc sensors, a grind mode, better headgear, replaceable batteries or solar assist, and a viewing area large enough for general fabrication. Jackson’s current Insight helmets, for example, use digital controls and variable shades 9 to 13, but the manufacturer’s published description does not support the old claim that they include programmable memory settings.
This is often the best-value tier for a welder who works weekly, changes between MIG, stick, and occasional TIG, or needs better comfort than an entry model provides. Prioritize fit and reliable arc detection over graphics or extra display menus.
Premium Welding Helmets
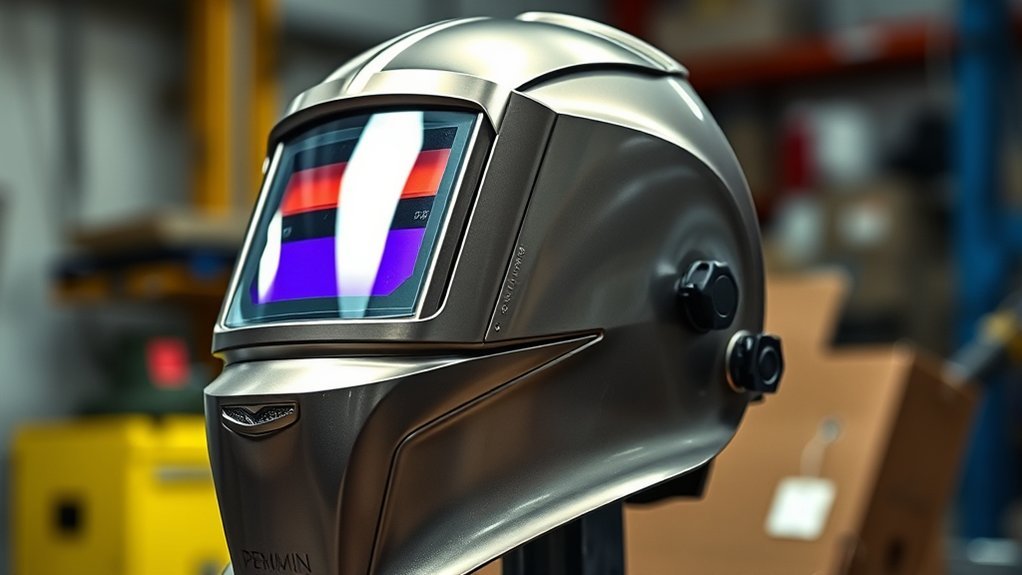
Premium standalone welding helmets generally cost about $350 to $700. This tier is aimed at frequent and professional users who can benefit from better balance, wider views, clearer light states, more consistent shade at an angle, strong low-amp performance, and easy access to grind or cut modes.
- ESAB Sentinel A60: ESAB lists a 4.65-by-2.80-inch viewing area, shades 3/5 to 13, half-step adjustments, and 1/1/1/1 optical clarity. Recent retail pricing was around $389 to $400. See the official Sentinel A60 specifications.
- Lincoln Electric VIKING 3350: Lincoln lists a 12.5-square-inch auto-darkening viewing area, 4C lens technology, 1/1/1/1 optical clarity, and an external grind control. Recent fourth- and fifth-generation retail listings were roughly $475 to $525. See Lincoln Electric’s VIKING 3350 overview.
- Optrel Panoramaxx CLT: Optrel combines a panoramic field of view with Crystal Lens Technology and a light state of 2.0. Recent U.S. retail pricing was around $639. See the official Panoramaxx CLT specifications.
Premium pricing does not automatically mean a helmet is right for every welder. Shell shape, replacement-lens cost, controls, headgear, local service, and compatibility with safety glasses, hard hats, or respirators may matter more than one headline specification.
Warranty terms also vary by model and component. A lens may have different coverage from the shell, headgear, battery, or PAPR blower, so read the current warranty instead of assuming every premium helmet includes three to five years of complete coverage.
Why PAPR Welding Systems Cost Much More
A powered air-purifying respirator, or PAPR, adds a blower, battery, filters, breathing tube, belt, airflow alarms, face seal, and respiratory approvals to the welding helmet. Current complete systems from major brands commonly sell for about $1,800 to $2,500 or more. That explains the original article’s extreme upper price without treating a PAPR as an ordinary premium helmet.
A PAPR is not a substitute for ventilation or a universal solution for every welding fume. OSHA’s Respiratory Protection Standard requires suitable respirator selection and a worksite-specific program when respirators are required in the workplace. Filter choice, the contaminant, exposure level, facepiece type, maintenance, training, and medical requirements all affect safe use.
Warning: Do not buy a PAPR only because welding fumes are visible. Workplace exposure assessment and local exhaust ventilation should come first, followed by a properly selected respirator when controls do not reduce exposure enough.

The Beurer BM27 is a dependable home blood pressure monitor designed for easy, accurate tracking of heart health. It features an adjustable upper-arm cuff, irregular heartbeat detection, and a color-coded risk indicator to make readings simple to understand. With memory storage for multiple users and app synchronization to major health platforms, it helps families keep a clear digital record of measurements.

This multitasking undereye corrector helps instantly even the look of skin tone while reducing the appearance of dark circles, puffiness, and fine lines. Its full-coverage formula is infused with moisturizing, skin-loving ingredients like caffeine, vegan squalane, and hyaluronic acid for a smooth, hydrated finish. Designed for a natural, crease-free look, it delivers complexion-perfecting benefits with a clean, cruelty-free formula.

This kid-friendly cookbook helps young chefs build confidence in the kitchen with more than 100 recipes designed for fun, learning, and delicious results. Created by America's Test Kitchen Kids, it offers approachable instructions, helpful guidance, and a wide range of dishes that make cooking and eating an engaging family activity.
Advanced Technology in Welding Helmets
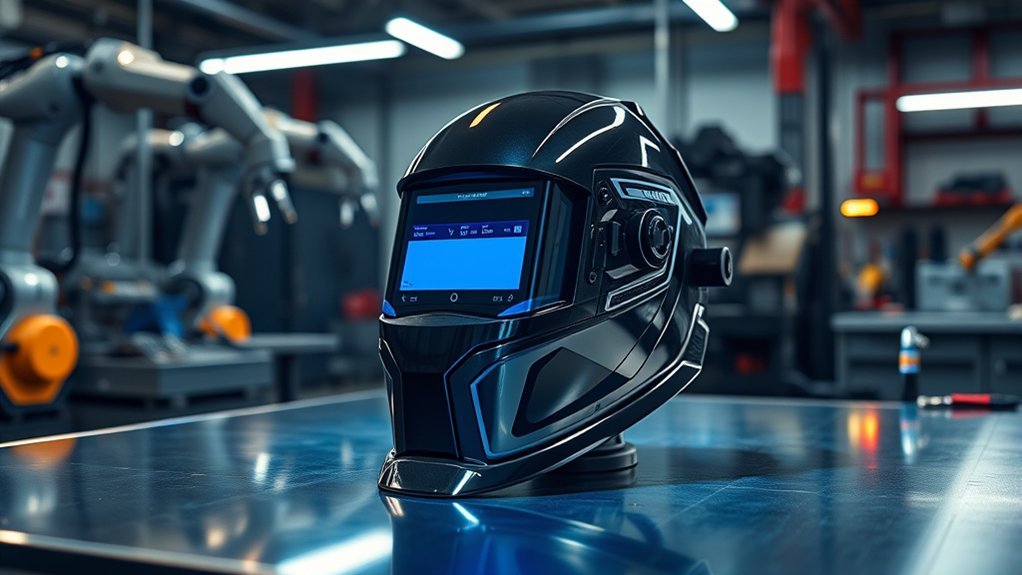
Advanced features can improve workflow and visibility, but each feature should match a real need. The most useful technologies are usually simple and practical:
- Auto-darkening filter: Sensors detect the arc and switch the filter from its light state to the selected welding shade.
- Adjustable sensitivity and delay: Sensitivity helps the helmet detect low-amperage or obstructed arcs, while delay controls how quickly the lens returns to the light state after the arc stops.
- Multiple arc sensors: Additional sensors can improve coverage when a hand, fixture, or workpiece blocks one sensor.
- Process modes: Weld, cut, grind, tack, or electromagnetic sensing modes can reduce repeated helmet removal when the model is approved for the task.
- Natural-color or true-color optics: These filters reduce the traditional green tint and can make the workpiece and weld puddle easier to distinguish.
- Memory or automatic settings: Some premium helmets can store preferred settings or adjust sensitivity automatically, but these functions are model-specific.
- External controls: A glove-friendly grind button can save time, provided it is protected against accidental activation.
The number printed for switching speed is not the only measure of safety or quality. Proper UV and IR protection, correct shade, sensor placement, low-amp performance, compliance markings, and a filter that works throughout the manufacturer’s temperature range are more important than chasing the fastest advertised fraction.
Note: Grind mode normally keeps an auto-darkening filter in a light state. It is not a welding shade, and it does not make every helmet suitable as an impact-rated grinding face shield. Check the product instructions and continue wearing primary eye protection.
How to Choose the Right Welding Helmet
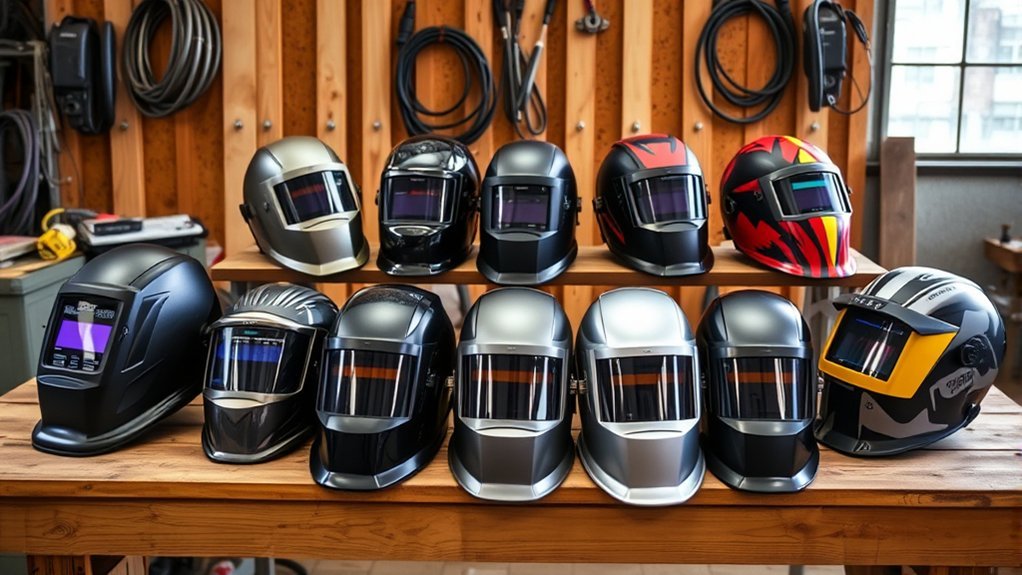
1. Match the Shade to the Process and Amperage
Do not use one shade rule for every task. OSHA’s filter-lens table sets minimum protective shades by process, electrode size, and arc current. Start darker, then move to a lighter shade that provides a clear view without going below the minimum.
| Operation | OSHA minimum shade examples |
|---|---|
| Shielded metal arc welding | Shade 7 below 60 A; 8 at 60 to 160 A; 10 at 160 to 250 A; 11 at 250 to 550 A |
| MIG or flux-cored welding | Shade 7 below 60 A; shade 10 from 60 to 500 A |
| TIG welding | Shade 8 up to 150 A; shade 10 from 150 to 500 A |
| Plasma arc welding | Shade 6 below 20 A; 8 at 20 to 100 A; 10 at 100 to 400 A; 11 at 400 to 800 A |
| Torch brazing or soldering | Shade 3 for brazing; shade 2 for soldering |
2. Choose Passive or Auto-Darkening
Choose a passive helmet when you use one process and shade, value low weight, and want the fewest electronic parts. Choose auto-darkening when you tack frequently, change processes, work in awkward positions, or need to keep both hands on the work while striking the arc.
3. Check Fit, Balance, and Coverage
Try the helmet with the safety glasses, hearing protection, respirator, hood, or hard hat you actually use. Adjust the crown, fore-and-aft position, tilt, and shell tension. The helmet should stay up when raised, lower smoothly, cover the neck and sides, and avoid pressure points.
4. Match Sensors and Controls to Your Work
Two sensors may be enough for open bench work. Three or four sensors are useful for pipe, fixtures, low-amp TIG, and out-of-position work where the arc can be blocked. Confirm the manufacturer’s minimum TIG amperage and operating-temperature range rather than assuming every auto-darkening filter performs the same.
5. Confirm Standards and Replacement Parts
Look for the applicable eye-and-face protection marking, the correct shade capability, and clear manufacturer instructions. Confirm that outside and inside cover lenses, batteries, sweatbands, headgear, magnifying lenses, and the auto-darkening cartridge will still be available. OSHA also advises using welding helmets over primary eye protection such as safety glasses or goggles.
6. Budget for the Total Cost
The purchase price is only the beginning. Add the likely cost of cover lenses, batteries, headgear, sweatbands, storage, hard-hat adapters, cheater lenses, and any respiratory components. A slightly more expensive helmet can cost less over time when consumables are inexpensive and easy to find.
Pro Tip: Before buying, confirm the exact replacement cover-lens part number and local availability. A premium helmet becomes frustrating quickly when a scratched cover lens is expensive or difficult to obtain.
Maintenance and Replacement Costs
Inspect the helmet before use. Clean the shell and lenses according to the manufacturer instructions, replace scratched or pitted cover lenses, keep sensors clear, check batteries, and make sure the headgear holds the helmet securely. Do not use harsh solvents unless the manufacturer specifically allows them.
There is no universal rule that every welding helmet must be replaced after three to five years. Replace or repair it immediately when the shell is cracked or badly heat-damaged, the lens or filter is cracked or deeply scratched, the auto-darkening filter fails to switch correctly, controls malfunction, sensors are damaged, or the headgear can no longer keep the helmet in a safe position. 3M’s care and maintenance resources likewise focus on regular inspection and replacing worn or damaged parts rather than a single age limit.
For a repairable professional helmet, replacing a cover lens, sweatband, battery, or headgear may be more economical than replacing the complete unit. Replace the entire helmet when critical parts are unavailable, the shell or ADF is unsafe, or repair approaches the cost of a suitable new model.
Frequently Asked Questions
Can I find a good welding helmet for under $100?
Yes. Several established brands sell passive fixed-shade helmets for about $50 to $100. Auto-darkening choices also exist near this price, but verify the compliance marking, shade range, sensor response, fit, warranty, and replacement-lens availability before buying.
What features should I prioritize in a welding helmet?
Prioritize the correct shade capability, recognized eye-and-face protection compliance, a secure and comfortable fit, reliable arc detection, suitable low-amp performance, and affordable replacement lenses. Viewing area, true-color optics, grind mode, and memory settings come after the core safety and fit requirements.
How often should I replace my welding helmet?
There is no universal three- or five-year replacement schedule. Inspect the helmet before use and replace or repair it when the shell, lens, auto-darkening filter, sensors, controls, or headgear is damaged or unreliable. Follow the manufacturer’s inspection and service instructions for the exact model.
Are there welding helmets suitable for beginners?
Yes. A beginner often benefits from a simple auto-darkening helmet in the $100 to $200 range with variable shade, sensitivity and delay controls, grind mode, easy-to-find cover lenses, and comfortable headgear. A passive helmet is also suitable when the instructor specifies the correct fixed shade.
Is there a warranty on welding helmets?
Most established manufacturers offer a limited warranty, but the period and covered parts vary. The auto-darkening lens, shell, electronics, headgear, battery, and PAPR components may have different terms. Read the current model warranty and keep proof of purchase.
Is an auto-darkening helmet safer than a passive helmet?
Not automatically. Both can provide appropriate protection when compliant, undamaged, and used with the correct shade. Auto-darkening mainly improves convenience, positioning, and workflow. A passive helmet can be dependable when its fixed shade matches the work.
Do I need a PAPR welding helmet?
A PAPR may be appropriate when a workplace exposure assessment shows that respiratory protection is needed and the selected system suits the contaminants and exposure level. It does not replace local exhaust ventilation, training, maintenance, or an employer respiratory protection program where OSHA rules apply.
Conclusion
A good welding helmet usually costs $100 to $500, but the best choice is the least expensive model that safely fits your work, face, and required protective equipment. A passive helmet may be enough for one steady process, while an auto-darkening helmet can improve convenience for frequent tacking and mixed work. Premium optics and headgear make sense for long shifts, and a PAPR should be treated as a separate respiratory-protection purchase. Compare shade capability, standards, fit, replacement parts, and total ownership cost before paying for extra technology.
Sources
- OSHA 29 CFR 1910.133: Eye and Face Protection — minimum filter shades and eye-and-face protection requirements.
- OSHA Eye Protection Against Radiant Energy During Welding — shade selection and primary eye protection under welding helmets.
- OSHA 29 CFR 1910.134: Respiratory Protection — respirator selection and workplace respiratory program requirements.
- Miller: Selecting the Right Welding Helmet — passive versus auto-darkening filters, sensors, light state, and controls.
- Lincoln Electric VIKING 3350 Overview — viewing area, optical class, 4C technology, and grind control.
- ESAB Sentinel A60 Specifications — viewing area, shade range, and optical-class details.

Lobe Wonder earring support patches help lift and stabilize earrings for a more comfortable, secure fit throughout the day. Designed to reduce drooping, hide enlarged holes, and ease pressure on earlobes, these clear, hypoallergenic patches work with all earring styles and sizes. They are latex-free, easy to apply, residue-free to remove, and made in the USA for dependable everyday wear.

This practical guide brings together traditional skills and self-sufficiency knowledge in one accessible reference. It helps readers learn time-tested home, craft, and survival techniques with clear guidance suited for beginners and hobbyists alike. Ideal for anyone interested in homesteading, DIY living, or preserving old-fashioned know-how.

BioSilk Hydrating Therapy Pure Moisture Leave-In Spray helps replenish moisture in dry, coarse hair for a softer, smoother feel. This daily styling spray also helps control frizz, boost shine, and improve manageability while supporting hair against environmental stressors. Formulated with silk and maracuja oil, it is suitable for all hair types, including color-treated hair.
