

To calculate welding cost step-by-step, first define weld types, lengths, and material so you can pick the right process; then compute weld metal volume, convert to weight, and size filler/electrodes. Estimate arc and labor time using deposition rates and welding speeds, multiply by an all‑in labor rate ($55–$60/hr). Add consumables, gas, power (kWh), equipment depreciation, overhead, and prep/finishing. Sum costs and add margin for profit and contingency — continue for detailed formulas and examples.
Understanding the Main Components of Welding Cost
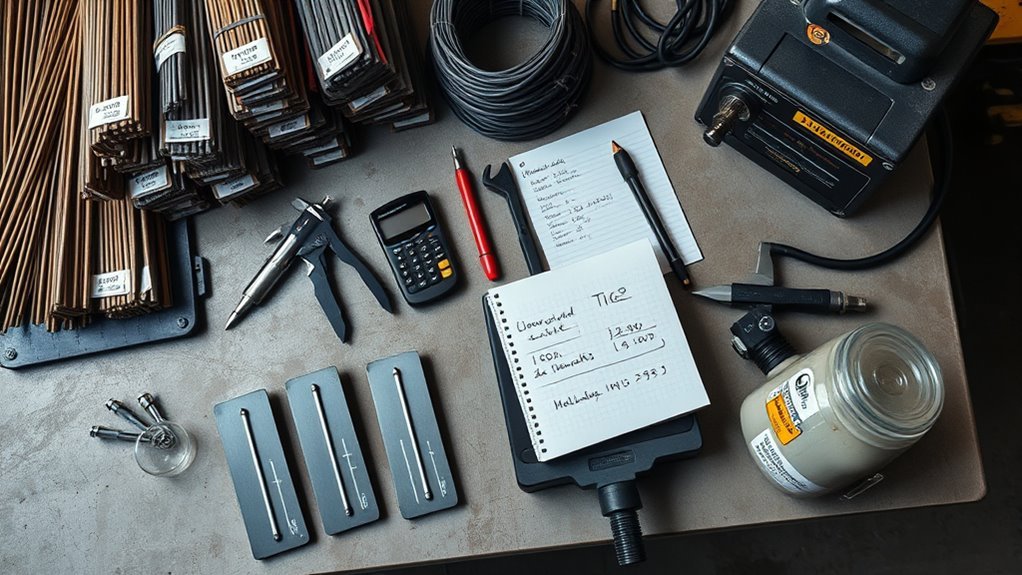
Costs matter — and welding costs break down into five concrete categories you’ll want to track: labor (wages, benefits, and shop overhead, typically $55–$60/hr for realistic estimates), materials (base metals, filler metals, shielding gas, and consumables), equipment (depreciation, rentals, maintenance, and power), overhead (utilities, rent, admin), and preparation/finishing expenses.
You’ll quantify each category per project: multiply labor hours by loaded hourly rate, tally material weights and consumable usage, allocate equipment depreciation and power per hour, and apportion overhead across jobs.
Preparation and finishing—cleaning, grinding, post-weld treatment—add measurable time and supplies.
Use cost analysis to compare welding techniques and spot where savings matter most: lower filler use, faster deposition rates, or reduced setup time can cut total cost without compromising quality.
Defining the Scope and Selecting the Welding Process
Start by listing the weld types you’ll need—fillet, groove, plug—along with joint geometry and expected volumes so you can quantify labor and filler requirements.
Check material compatibility and thickness to rule in/out processes and consumables, ensuring the chosen method meets strength and quality specs.
Then pick the best process (GTAW, FCAW, etc.) based on those constraints and expected welding speed to feed into your cost calculations.
Products Worth Considering

✅ Material: Grade 1 Pure Titanium – excellent weldability, highest corrosion resistance

Package Includes: the TIG welding rod is 2 lbs packed, enough to meet your needs and replacements, and you can also share some with your friends or family members

ER70S-6 TIG WELDING ROD: The main alloying elements of ER70S - 6 welding wire are C, Mn, Si, etc. Moderate carbon content ensures weld strength. Mn and Si, as deoxidizers and alloying elements, enhance weld's mechanical properties, crack resistance, toughness and strength
Define Weld Types
Weld selection drives how you’ll prepare, execute, and price a job, so begin by identifying each joint type—bevel, butt, fillet, T‑joint—and the exact geometry and thickness of the parts to be joined.
Record which features need bevel welds and where T joint welding is required, noting root gaps, bevel angles, and access constraints.
Match joint design and thickness to candidate processes (GTAW, FCAW, etc.) based on required penetration, deposition rate, and weld performance.
Specify welding position and any special preparation that affects time or filler selection.
Use these defined weld types to calculate weld length, volume of filler, travel speed assumptions, and expected setup or fixturing time.
This disciplined scope prevents underestimating labor and material costs.
Material Compatibility Check
When you assess material compatibility, systematically verify base-metal chemistry, mechanical properties, and thickness so you can pick a welding process and filler that preserve strength and avoid metallurgical problems.
You’ll conduct a material selection review to match base metal and filler, checking tensile strength, ductility, and alloying elements. Note thickness: GTAW suits thin sections, FCAW and other high-deposition methods work for thicker plates.
Identify susceptibility to cracking, hydrogen embrittlement, or distortion and plan preheat, interpass temperatures, or post-weld heat treatment as required.
Cross-check AWS D1.1 and project specs to validate welding compatibility and compliance. Document findings so cost estimates reflect required consumables, procedures, and any additional controls to protect structural integrity.
Choose Optimal Process
Define the scope by listing the types, volumes, and exact geometry of welds you need—joint types (bevel, butt, fillet), plate thicknesses, and part dimensions—then select the welding process that matches material, joint configuration, and performance requirements. You’ll evaluate GTAW, FCAW and others against deposition rates, recovery factors, and material density to predict filler needs and labor time. Match process to accessibility, tolerance, and appearance requirements; that choice drives equipment, consumables, and labor cost. Use welding innovations and cost saving techniques (e.g., higher deposition rates, automation) where fit. Below is a quick reference to compare processes and impacts on cost estimation.
| Process | Strengths | Cost impact |
|---|---|---|
| GTAW | Precision, low spatter | Higher labor |
| FCAW | Fast deposition | Lower labor, more consumables |
| Automated | Consistent, fast | Upfront capital investment |
Calculating Weld Metal Volume, Weight, and Electrode Requirements

Start by calculating the weld metal volume using the cross-sectional area of the weld profile multiplied by its length, making sure you model the actual shape (rectangular, triangular, or combined) rather than assuming a simple bead.
Perform weld shape analysis to break complex joints into basic geometry, sum areas, then multiply by length to get volume. Convert units consistently.
Determine weight by multiplying volume by the material density, accounting for density variations if alloys differ or if units change (lb/in³ or kg/m³).
For electrode requirements, divide weld weight by the electrode’s usable deposition mass, or use deposition rate (lb/hr or kg/hr) combined with expected arc time to confirm consumption.
Accurate volume, weight, and electrode estimates prevent shortages and control material cost.
Products Worth Considering

【MORE POWERFUL】The 200 Amp powerful spot welder is capable of welding various metals. Welding speed is higher than that of ordinary pulse gas shielded welding and welding...
Estimating Arc Time, Labor Time, and Labour Cost

Although arc time is driven by weld weight and deposition rate, you should always calculate it explicitly by dividing the total weld mass by the electrode or process deposition rate (for example, 9.62 lb ÷ 7.8 lb/hr ≈ 1.23 hr).
Use arc efficiency to adjust deposited mass if needed. Convert joint length and welding speed to labor time (a 1 m joint at 10 m/hr = 0.1 hr).
Account for arc efficiency when calculating deposited mass, and convert joint length and travel speed into labor time.
Apply the operating factor to reflect productive welding share of a shift (OF 30% means planning for idle/setup time).
Multiply realistic hourly rate ($55–$60) by labor time to get labor cost (0.1 hr ≈ $5.50–$6.00).
Combine these figures for accurate pricing and labor optimization in your estimates.
Products Worth Considering
![ARCCAPTAIN Stick Welder, [Large LED Display] 200A ARC/Lift TIG Welding Machine with Synergic Control, IGBT Inverter 110V/220V Portable MMA Welder Machine with Hot Start, Arc force and Anti-Stick](https://m.media-amazon.com/images/I/41UxHUozfeL._SL500_.jpg)
【EASY TO USE】Intelligent LED screen design, provides you with accurate data display and more choices, helps you read it easier and more clearly without taking off your helmet. Good performance on 6010, 6011, 6013 and 7018 rods. It's very suitable for outdoor maintenance, garage, farm, craft, and home DIY. Note: DO NOT power on until the screen turns off and the fan stops working!

Be certain with your calculations with Double Check Function

BACKLIT LCD DISPLAY – Easy-to-read screen enhances visibility in any lighting, ideal for long work sessions in home or office settings.
Computing Consumable, Gas, and Power Costs
When you calculate consumable, gas, and power costs, break each into measurable units—kilograms of filler (adjusted for wire-to-flux ratio), cubic meters or cubic feet of shielding gas, and kilowatt-hours of electrical energy—and multiply those quantities by their respective unit prices so you can see exactly where dollars are going. You’ll compute consumable cost by weighing filler used, applying the wire-to-flux ratio, then multiplying by price/kg. For gas estimation, total gas volume = flow rate × arc-on time; multiply by price per unit. For power, log arc-on and off time, calculate kWh consumed, then multiply by utility rate. Accurate tracking reveals true cost drivers and lets you tighten estimates for competitive pricing.
| Item | Unit | Emotional trigger |
|---|---|---|
| Filler | kg | Accountability |
| Gas | m³ | Control |
| Power | kWh | Confidence |
Products Worth Considering
Welding Gas to Your Door - Get PrimeWeld's industrial grade Argon welding gas delivered right to your door. We offer different mixtures for any application, and you can purchase a tank without worrying about costly rental fees or wasted trips out to your local welding supply shop.

Welding Gas to Your Door - Get PrimeWeld's industrial grade Argon welding gas delivered right to your door. We offer different mixtures for any application, and you can purchase a tank without worrying about costly rental fees or wasted trips out to your local welding supply shop.
Welding Gas to Your Door - Get PrimeWeld's industrial grade Argon welding gas delivered right to your door. We offer different mixtures for any application, and you can purchase a tank without worrying about costly rental fees or wasted trips out to your local welding supply shop.
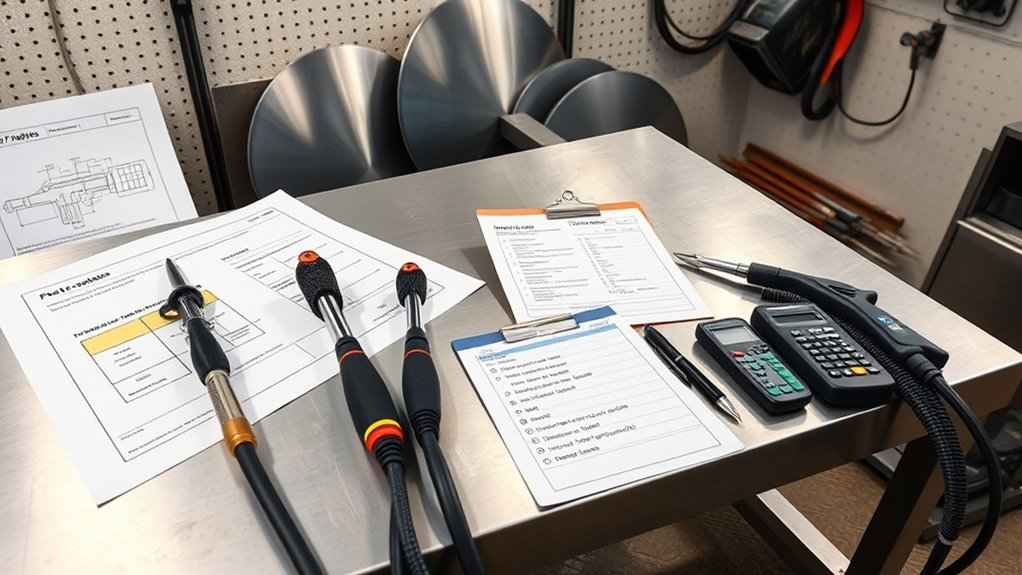
Adding Equipment, Overhead, Preparation, and Finishing Costs
Now you’ll add equipment, overhead, preparation, and finishing costs to your estimate so the total reflects real project expenses.
Include equipment depreciation or rental fees, maintenance and power consumption, plus overhead items like utilities, facility rent, admin, and safety gear.
Also factor prep time and materials for cleaning/fitting and post-weld finishing such as grinding or painting to guarantee accurate totals.
Products Worth Considering

Equipment Depreciation and Rentals
Because equipment can represent a large, ongoing portion of your welding expenses, you should calculate depreciation and rental costs precisely and include related overhead, setup, and finishing charges in each estimate.
Use the initial purchase price, expected equipment lifespan, and residual value to spread cost per hour or per job, and review rental agreements to compare short‑term versus long‑term needs.
Include maintenance, insurance, and required safety gear when allocating equipment overhead. Factor setup time and post‑weld cleaning into per‑job rates so estimates reflect real labor and material use.
- Calculate annual depreciation: (purchase − residual) / useful years
- Convert to hourly cost using annual hours
- Compare with supplier rental agreements
- Add routine maintenance and insurance line items
- Include setup and finishing charge per job
Overhead, Prep, Finish Costs
If you want accurate bids, don’t treat overhead, preparation, and finishing as vague add‑ons—break them into specific, billable line items.
Do an overhead analysis that captures utilities, facility rent, admin, safety gear, and apportions them per job hour. Add equipment costs (depreciation, rentals, maintenance, power) as a calculated hourly or per-job rate.
Use preparation strategies that list time and materials for surface cleaning, joint fitting, and pre‑weld treatments; price them separately so you can adjust for complexity.
Itemize finishing tasks—grinding, painting, inspections—and include labor, consumables, and any outsourced fees.
Sum these components to produce a transparent, defendable total that keeps bids competitive and guarantees project profitability.
Putting It All Together: Total Cost Calculation and Margin
When you add labor, materials (electrodes and shielding gas), and power use into one calculation, you get the total welding cost you’ll use to set prices and analyze jobs; compute labor by multiplying welding time by an all-in hourly rate, tally electrode weight times cost/kg (including waste), and convert machine energy use to kWh then multiply by your electricity rate adjusted for machine efficiency.
Sum those components to produce the baseline cost. Then apply your chosen margin for profit and contingencies, balancing cost optimization with competitive pricing strategies.
Add those costs to establish a baseline, then apply a margin for profit and contingencies to set your price.
- Labor: welding hours × all-in hourly rate
- Electrodes: kg used × cost/kg (include waste)
- Shielding gas: volume × unit price
- Power: kWh used × electricity rate / efficiency
- Final price: baseline × (1 + margin%)
Frequently Asked Questions
How Do Taxes and Duties Affect Final Welding Cost?
Taxes and duties increase your final welding cost by adding tax implications on labor, materials and services, and customs fees for imported components; you should calculate percentages, include them in quotes, and track them for accurate budgeting.
Can Substrate Material Quality Change Welding Expenses?
Yes — substrate material quality directly alters welding expenses: you’ll need higher skilled labor, specialized consumables, and stricter inspection for superior substance durability, and complex material sourcing raises purchase cost and lead times, increasing overall project budget.
How to Price Rush or Emergency Welding Jobs?
You’ll add premiums—quickly—because time bites. For rush job pricing and emergency job rates, charge higher hourly labor, expedited material fees, priority scheduling, and a cancellation/after-hours surcharge so you’re compensated for disruption and risk.
Do Warranties or Liability Insurance Alter Costing?
Yes — warranty impact and insurance coverage raise your costs: you’ll factor expected warranty claims, extended coverage, and higher premiums into pricing, add contingency margins, and document liability limits to protect margins and client expectations.
How to Factor Currency Fluctuations in International Quotes?
You hedge currency exchange risk, quote in stable currency or include indexed clauses, and set review points in international contracts; you’ll use forward contracts, margins, and regular rate updates to protect profit and cover volatility.
Conclusion
You’re set to streamline and scale your shop: sum the specific spending — stuff like steel, stick, shielding, and spark time — then slot in salaries, setup, safety, shop space, and surface prep. Sharpen your spreadsheet, single out skimpy savings, set sensible pricing, and secure steady success: practical planning prevents pricey problems and protects profit. Stick to the steps, spot savings, and steadily sharpen your costing to sustain smart, scalable welding work.
